
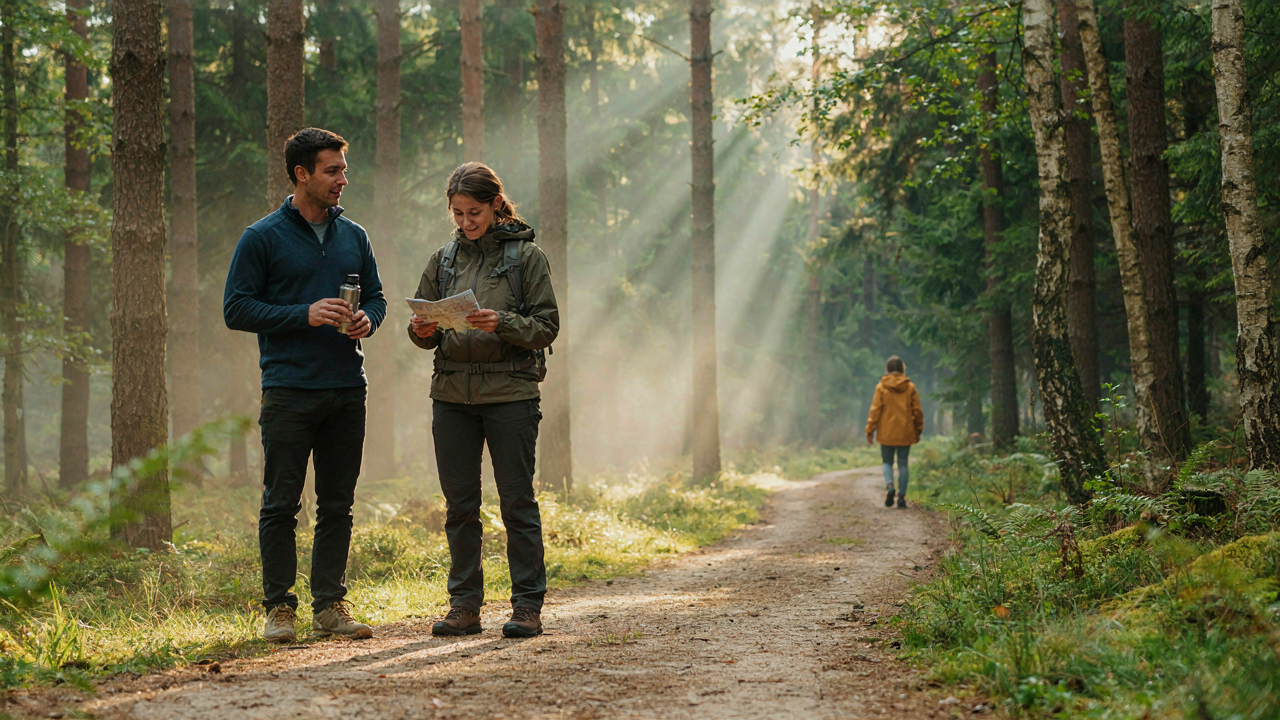
The Unseen Landscape: Reading Animal Activities, Not Just Looking

Tracks And Signs You Actually Use
You want to spot animals without admitting you have no idea where to look. The real mechanism here comes from forensics: animals leave evidence at crime scenes too, and investigators read backwards from the scene to the suspect. You do the same thing in reverse, reading forward from the evidence to predict where the animal goes next.
Most people see a track and move on. Instead, measure the depth, note the substrate, check the edges. Deep prints in soft ground mean the animal was moving fast or is heavy. Sharp edges suggest recent passage, within hours. Scat reveals diet: herbivores leave pellets or fibrous matter, carnivores leave twisted, hair-filled deposits. A scat pile near a tree means territorial marking, not random defecation. Browse damage on vegetation shows feeding height and species preference. Deer browse at shoulder height, moose browse high, rabbits browse low. The evidence tells you time, direction, speed, and species before you ever see the animal.
Where Animals Actually Congregate
Microhabitat is the geography term that matters here: every animal needs three things simultaneously, and they’re willing to travel only so far to get them all. Food, water, and shelter must exist within the animal’s movement range, not scattered across miles.
This is where your binoculars fail you. Most wildlife spotters scan open ground and give up. Instead, identify the convergence point: a water source bordered by dense cover with food nearby. A stream running through willow thickets with berry bushes nearby becomes a magnet. A rocky outcrop with cave entrances, adjacent grassland for hunting, and a water seep turns into predator territory. Animals don’t spread evenly across a landscape. They compress into these nodes. Scout the perimeter of these zones during dawn and dusk, when movement peaks. Position yourself downwind, stay still longer than feels necessary, and watch the transition zones between cover types where animals must expose themselves briefly to move between resources.

The “Ghost Protocol”: Blending, Not Hiding, For Wildlife Photography
Minimize Your Presence Before You Arrive
You want the shot. That’s the real reason you care about this section—you believe controlling your sensory output guarantees results. It doesn’t. But reducing it stacks the odds. Wildlife reacts to stimuli: sound, scent, movement, vibration. Remove inputs, remove triggers. Think of it like signal-to-noise ratio from engineering. Your job is to become noise-free static in the environment.
Most animals detect you before you see them because you broadcast constantly. Wind carries scent hundreds of yards. Footsteps travel through soil and water. Voices project across valleys. Minimize these three channels first. Approach from downwind. Move during natural sound periods—rain, wind, water flow. Stay silent. The protocol is mechanical: scent mitigation, sound discipline, timing alignment. Execute all three or execute none.
Pattern Disruption Beats Color Match
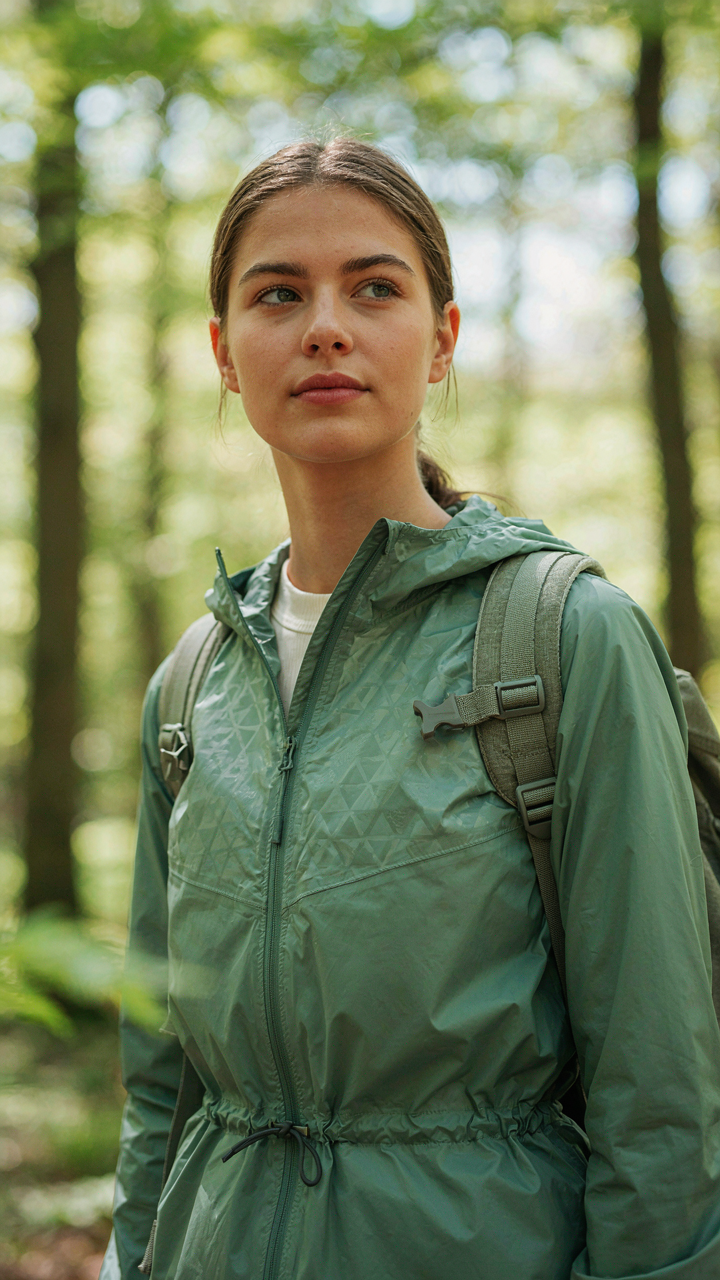
The common advice tells you to wear khaki or green. Wrong framing. Camouflage isn’t about matching the environment—it’s about breaking your outline so animals can’t process you as a threat. This is visual disassembly, borrowed straight from military concealment doctrine. A solid tan jacket reads as a cohesive shape. Your brain locks onto it. Animal brains do the same.
Wear broken patterns—multiple colors at odds with each other. Dappled shadows, geometric breaks, high contrast between panels. This forces predator eyes to fail their edge-detection algorithm. Your silhouette never forms. Avoid reflective surfaces entirely. Metal buttons, watch faces, camera lenses catch light and signal presence instantly. Matte everything. The final check: stand still for sixty seconds and scan yourself. If you spot your own outline clearly, animals will too. Adjust until you vanish into background noise.
Beyond The Lens: Camera Hacks For Anticipating The Unpredictable
Set Your Autofocus Before The Animal Appears
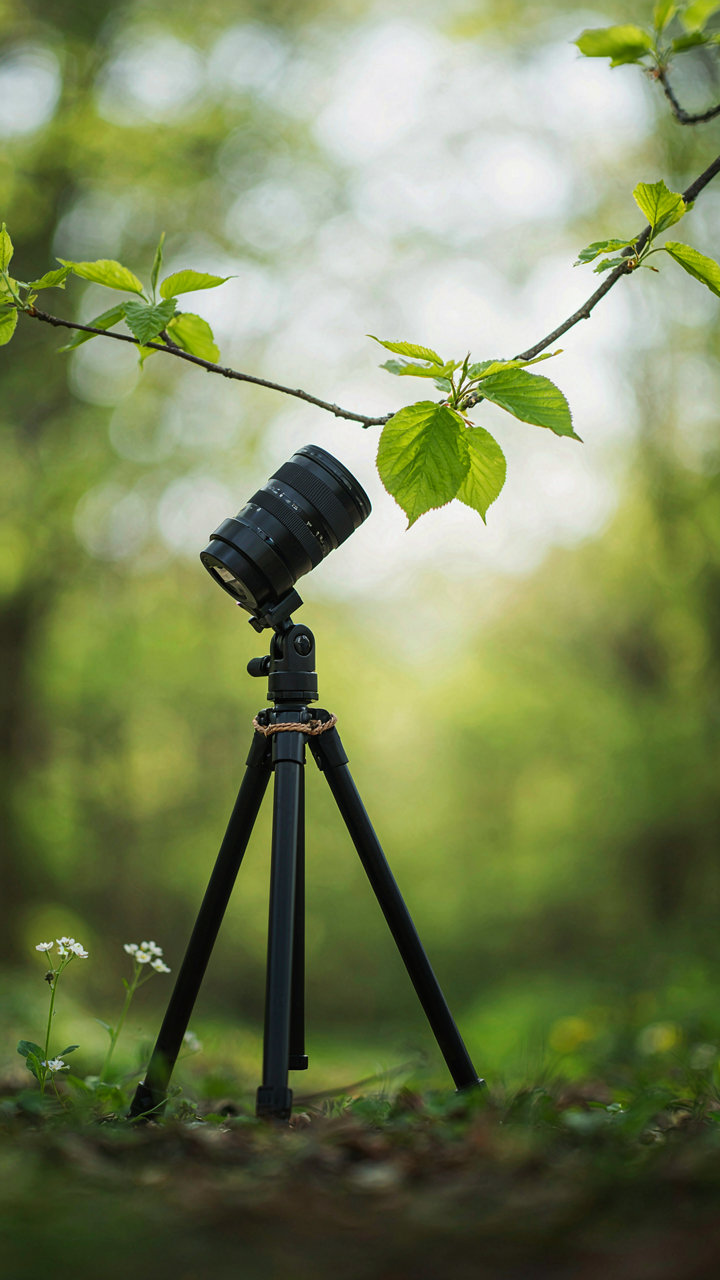
You want the perfect shot without missing the moment. Here’s what stops you: autofocus hunts when the animal moves. Instead, use your camera’s autofocus-area selection to lock focus on a specific zone before the subject enters it. Most wildlife appears predictably along trails, water edges, or perches. Pre-assign your autofocus box to that zone and half-press the shutter button to lock. The animal crosses into focus without delay.
This is borrowed from military target acquisition: you establish a kill zone before engagement. Your camera works the same way. Mark the spot where the animal will likely appear, not where it is now. When the creature moves through that predetermined space, your autofocus is already committed. No hunting. No missed shots. Your frame rate stays high because your camera isn’t wasting cycles searching for contrast.
Burst Mode Demands Timing, Not Volume
Spray and pray fails because you’re shooting when you think something will happen, not when it actually does. Real timing comes from reading posture. An animal tenses before it moves, flees, or strikes. Watch for ear position, body weight shift, or jaw tightness. Start your burst sequence the instant you see this tells, not when the animal is already in motion. You’ll have frames before and during the action, not after it ends.
Most shooters hold burst the entire time an animal is visible. That wastes buffer space and forces you to wait before shooting again. Instead, shoot in short 3-5 frame bursts triggered by behavioral cues. A bird’s wings twitch before takeoff. A predator’s haunches drop before a sprint. A deer’s head jerks before it bolts. Anticipate the tells, then fire. This discipline keeps your best frames unblurred and your recovery time fast.
The Predator’s Mindset: Understanding Animal Behavior For Wildlife Photos
When Prey Animals Signal Fear
You want the shot. That’s the real reason you’re reading this. You want to be the person who captured something nobody else did. Here’s the mechanism: prey animals broadcast their mental state through specific physical shifts, and you can read those signals like a text message before they bolt.
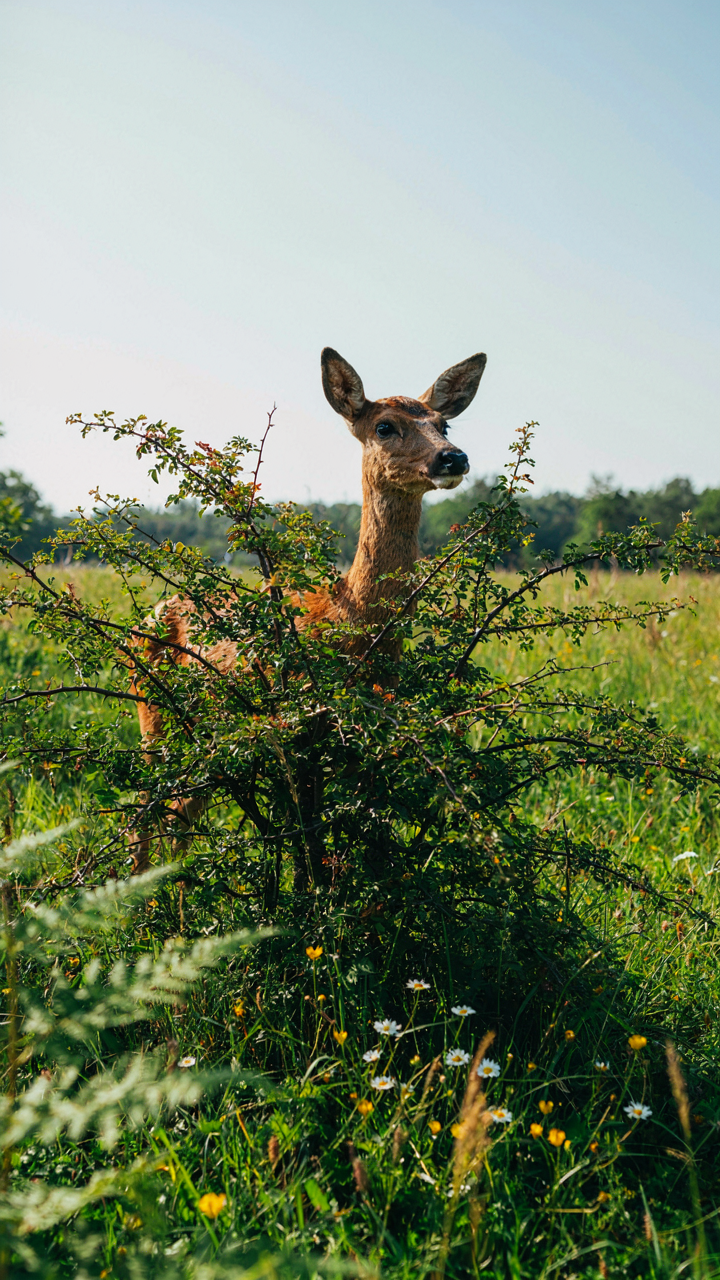
In ecology, we call this “vigilance behavior”—the measurable shift from feeding or resting into high-alert scanning. A deer lifts its head at fixed intervals. A bird’s posture tightens. Ears rotate toward sounds. These aren’t random. They’re calibrated responses to predation risk. When you see an animal mid-transition between relaxed feeding and locked alertness, you’re watching the exact moment it calculates threat level. Move slower from that point forward, not faster. You have seconds.
Most wildlife advice says “stay downwind and approach slowly.” That’s incomplete. The real lever is recognizing that prey animals tolerate approach distance in phases. They watch you while feeding, then they stop feeding to watch you, then they position their body to flee, then they flee. If you’re still moving when they stop feeding, you’ve already triggered phase two. Position yourself where you can shoot before phase one ends. That’s when the animal’s guard is lowest and its behavior is most natural.
How Predators Shape Where Animals Hide
Predator hunting patterns aren’t random either. They’re driven by terrain, time of day, and prey density. Understanding this means understanding where animals will actually be and why.
Apex predators hunt high-probability zones. Large cats stalk near water sources where prey concentrates. Raptors hunt open areas where they have sightlines. This creates inverse pressure on prey: they avoid those high-risk zones during peak hunting hours and instead occupy marginal habitat that looks less productive to a spotter. A deer doesn’t hide in dense brush because it’s comfortable—it hides there because predators can’t operate effectively in that terrain. When you spot an animal in “bad” habitat, that choice reveals predator pressure in your area. Hunt where prey are forced to be, not where they’d prefer to be. Check kill sites if you find them. Predators will return. Scout the same corridor at the same time for three consecutive days. Patterns emerge. Record wind direction, light angle, and time of day. Return when all three conditions repeat.
The Ecological Niche Filter: Applying Biology To Forest Landscape Search
Where Animals Actually Need To Be
You want to feel like a skilled observer. The real mechanism is this: animals don’t distribute randomly across a forest. Biology calls this an ecological niche, and it means each species occupies a specific role defined by what it eats, where it shelters, and what it hunts or competes with. Map the niche onto your search strategy, and you stop scanning empty forest. You search where survival economics force animals to appear.
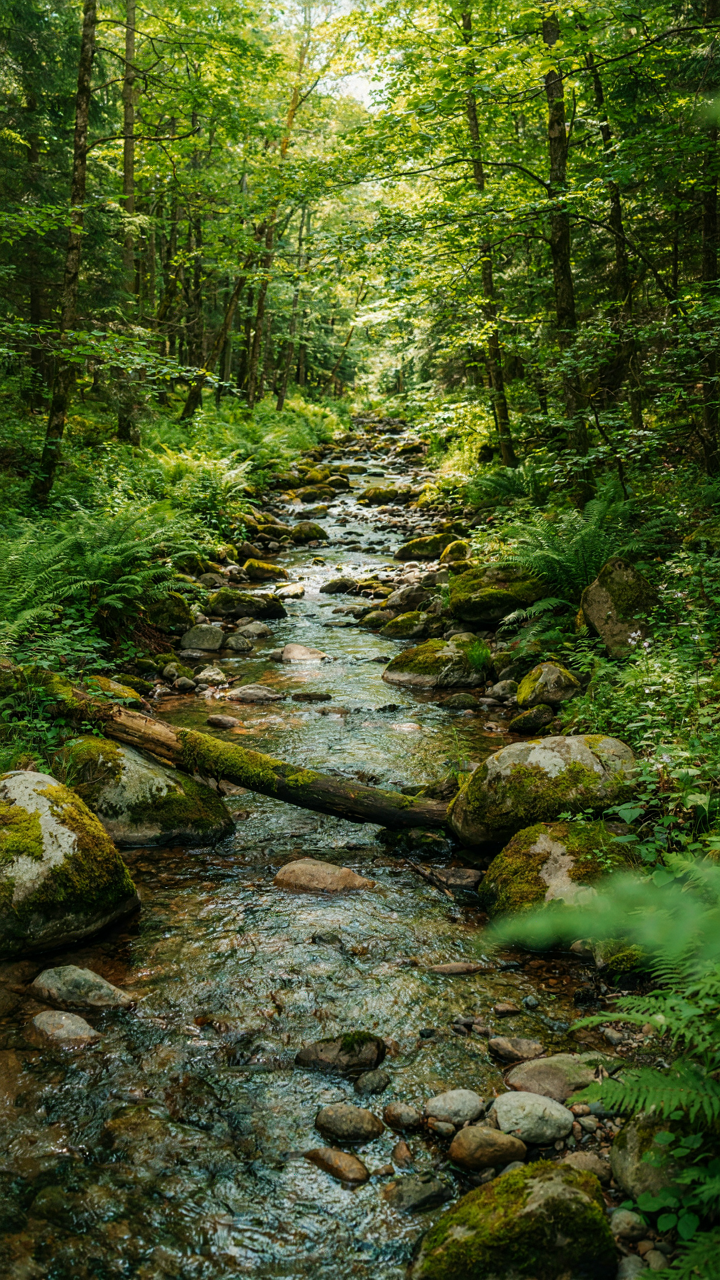
Most spotting advice skips this step. People tell you to “look for movement” or “stay quiet.” That’s incomplete. Before you move, identify what resources the animal you’re hunting requires, then locate those resources on the landscape. A deer needs water, browse at eye level, and escape cover nearby. A hawk needs open sightlines and perching height. An otter needs flowing water with fish. Search these zones first, not random sections of trail.
Predator Pressure And Visibility Patterns
Animals position themselves to balance feeding opportunities against predation risk. This shapes where you’ll actually find them. A songbird won’t forage in open meadow at midday when raptors hunt. It’ll move to edge cover where dense brush meets grassland. Elk feed at dawn and dusk in meadows but bed in thick timber during daylight hours. Understanding this trade-off tells you where to aim your binoculars and when.
The amateur mistake is assuming you find animals where food is abundant. You find them where food and safety coexist. Identify terrain features that offer both simultaneously. Rocky outcrops with sightlines for escape. Waterside brush thick enough to hide in. Fallen timber with gaps that let animals watch for threats while feeding. Position yourself downwind of these features and wait. The animal moves to this zone because it’s the only place its survival math works.
Optimal Observation Windows: Timing Your Nature Photography Exploits
When Animals Actually Move
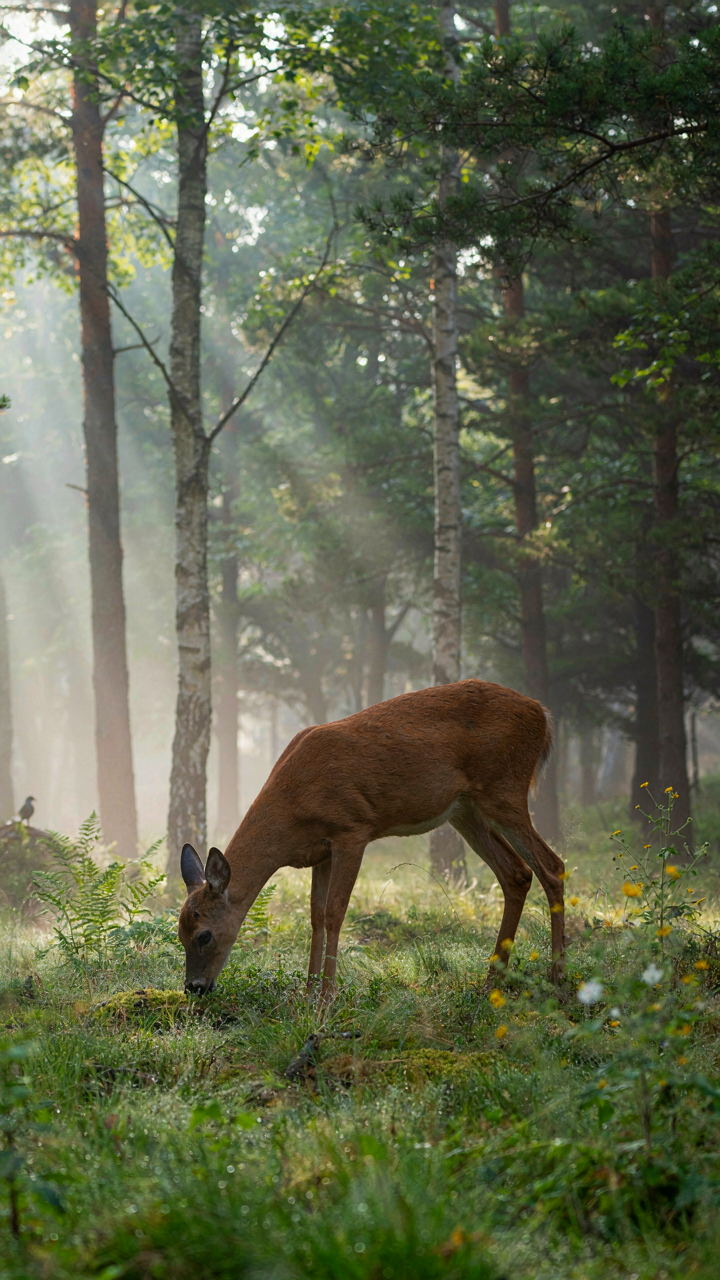
You want the perfect shot without the work. Here’s the mechanism: most animals aren’t active when the sun is high. They hide from heat and predators. Crepuscular species, those active at dawn and dusk, control the visibility window. These periods offer soft light, cooler temperatures, and predictable animal movement. Your camera settings matter less than being there when animals actually emerge from cover.
Crepuscular activity isn’t random. Animals use low-light periods to feed and move safely. Dawn typically shows more concentrated activity than dusk because animals refuel after overnight rest. You’ll spot predators hunting, herbivores grazing, and birds calling during these two-hour windows. Miss this window and you’re photographing empty terrain. Set your alarm two hours before sunrise. That’s not a suggestion. That’s where the footage lives.
Tracking Movement Across Seasons
The common advice says “visit in spring when everything migrates.” This is incomplete. Migration timing varies by latitude, weather patterns, and food availability. You need to map the specific species’ movement, not guess based on calendar months. Spring migration in one region can differ by weeks from another. Seasonal patterns shift yearly based on temperature and precipitation. Research the exact species, exact location, and exact year you’re traveling.
Document migration through local wildlife agencies and citizen science databases like eBird. These show real-time sightings and historical patterns for specific areas. Cross-reference weather data from previous years to predict when animals will move through your chosen location. Some species pass through for only two to three weeks. Arrive during the actual movement window, not the general season. Timing wildlife spotting means eliminating the guesswork through data, not showing up and hoping.
The “Safari Photography” Deception: Why Guides Aren’t Always Best
You Don’t Actually Need A Guide To See Animals
You want a guide because you’re afraid of looking foolish if you fail to spot anything yourself. Here’s the mechanism: guides compress spotting into a performance. They move you on a schedule, talk constantly, and funnel your attention toward “proven” locations. This works for tourism revenue, not animal observation. You’re paying for confidence, not competence. Most guides rotate through the same circuits regardless of seasonal animal behavior or weather patterns.
The real advantage of solo scouting is friction. You move slower. You stop when something shifts in the landscape instead of when the itinerary says to stop. You notice the smallest details because you’re not filtering them through someone else’s narrative. Wind direction matters to you now. The time of day shapes your choices. This is skin-in-the-game observation, and it produces sightings guides miss because they’re managing groups.
Read The Habitat Like Terrain
Ecology borrows the concept of “edge effect” from physics to describe where two ecosystems meet. Apply this directly: animals concentrate at edges because resources and cover cluster there. A guide walks the trail. You scout the transition zone between grassland and woodland, water and dry ground, dense brush and open field. This is where predators hunt and prey drink.
Spend time mapping before you move. Identify water sources, feeding areas, and shelter patterns specific to the species you’re tracking. Animals follow the same routes daily if conditions remain stable. They don’t randomize. Your job is to decode the pattern, not follow someone reading from a script. Position yourself downwind at a likely convergence point before dawn. Wait. This yields more sightings than walking.
Photography Cheat Sheets: Your Brain’s Memory, Not A Laminated Card
The Light And Frame Decision Tree
You want a laminated card to hide behind because admitting you don’t trust your own judgment feels worse than looking unprepared. Here’s what actually matters: light and composition operate on a decision tree, not a checklist. You assess one variable at a time in sequence, and each answer determines your next move.
Start with light direction. Is it frontal, side, or backlighting the animal? Front light flattens features. Side light creates depth and texture. Backlight separates the subject from the background but risks silhouetting. Once you’ve named the light, composition follows. If the light is poor, you pivot to a tighter crop to isolate detail. If the light is strong, you pull back to show context. The order matters because you’re not juggling five things simultaneously. You’re answering one question that unlocks the next.
Building Your Personal Animal Behavior Index
Every species repeats predictable patterns in specific light conditions and times of day. Your job is to notice and catalog them, not memorize a field guide’s generic advice. Start tracking what you actually observe: when does that hawk hunt from the highest perch versus the lowest? Does the deer move into shade at midday or stay exposed? What posture signals the bird is about to take flight?
- Dawn activity windows: Record which animals are most active and visible during the first hour after sunrise, noting how light angle affects their visibility and behavior patterns.
- Species specific positioning: Document where specific animals position themselves relative to cover, water, or food sources based on season and weather conditions.
- Behavioral tells before movement: Catalog physical signals like ear position, tail tension, or body stance that precede flight, feeding, or territorial displays.
- Seasonal habitat shifts: Track how the same species changes elevation, vegetation preference, or travel routes between seasons in the locations you visit repeatedly.
- Weather response timing: Note how rain, wind, or temperature changes shift animal activity, appearance frequency, and risk tolerance within hours of conditions changing.
This database lives in your actual memory through repetition, not in a card you pull out and read. Each spotting either confirms a pattern or breaks it, which is the real data. Build this over multiple trips to the same location. The pattern becomes your advantage because you predict where the animal will be before it arrives, and you’re already positioned with the right light and frame.
Post Spotting Reflection: Refining Your Wildlife Photography Tips
Why Your Shots Failed
You want proof you can do this. That’s the real thing driving you to analyze failure. The mechanism everyone skips: most missed shots stem from one of three causes—wrong positioning before the animal moved, camera settings that didn’t match the light condition, or you weren’t looking at the right spot when the behavior happened. Those aren’t mysteries. They’re predictable failures you can map and prevent.
Start by tagging each failed attempt with its specific cause, not vague complaints like “bad timing.” Did the animal move into shadow before you adjusted ISO? Did you frame too wide and miss the decisive moment? Did you position yourself downwind where the animal’s head turned away from you? Specificity creates a protocol. Vagueness creates repeat failures.
Patterns That Actually Convert
Real success isn’t luck. It’s the repeatable setup you forgot to document. Behavioral ecology teaches us that animals follow predictable patterns under specific conditions, and the same principle applies to your capture success. When a shot works, backtrack the exact chain: light angle, distance, animal behavior stage, camera position, and settings you used. That’s your algorithm.
Write down three successful sequences from your last trip. Not feelings. Not “the light was nice.” Document the exact position you held, the aperture and shutter speed, the animal’s behavior state when you fired, and the distance. Then execute that same setup on your next outing. This is how you stop relying on hope and start building a repeatable system.
The Real Obstacle Isn’t Finding Wildlife, It’s Your Own Impatience
Most people fail at wildlife spotting because they expect results on a timeline. You won’t see anything if you’re checking your phone every thirty seconds. Commit to sitting still for two hours this weekend. Pick one spot. Don’t move. Let your nervous system settle and your eyes adjust. Wildlife doesn’t perform on demand, but it does show up for people patient enough to disappear. Patience isn’t passive. It’s the most aggressive move you can make.