
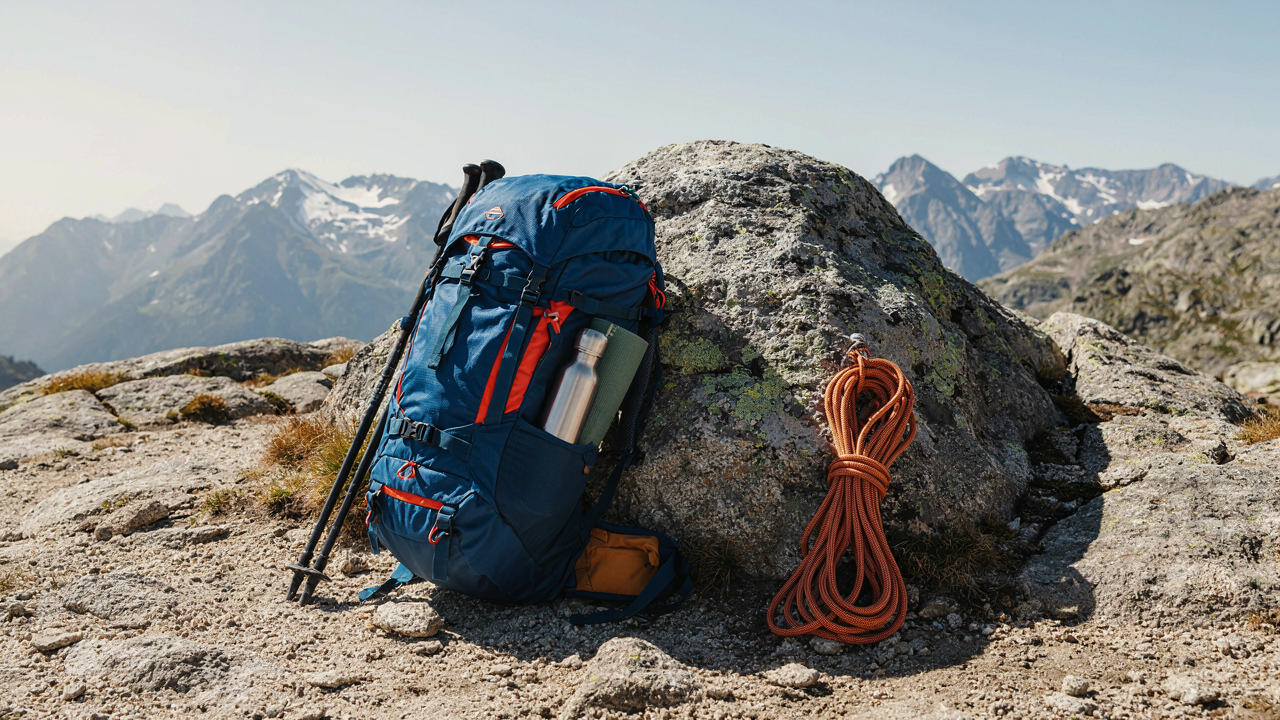
The Minimalist’s Manifesto: Your Core 5 Day Backpacking List
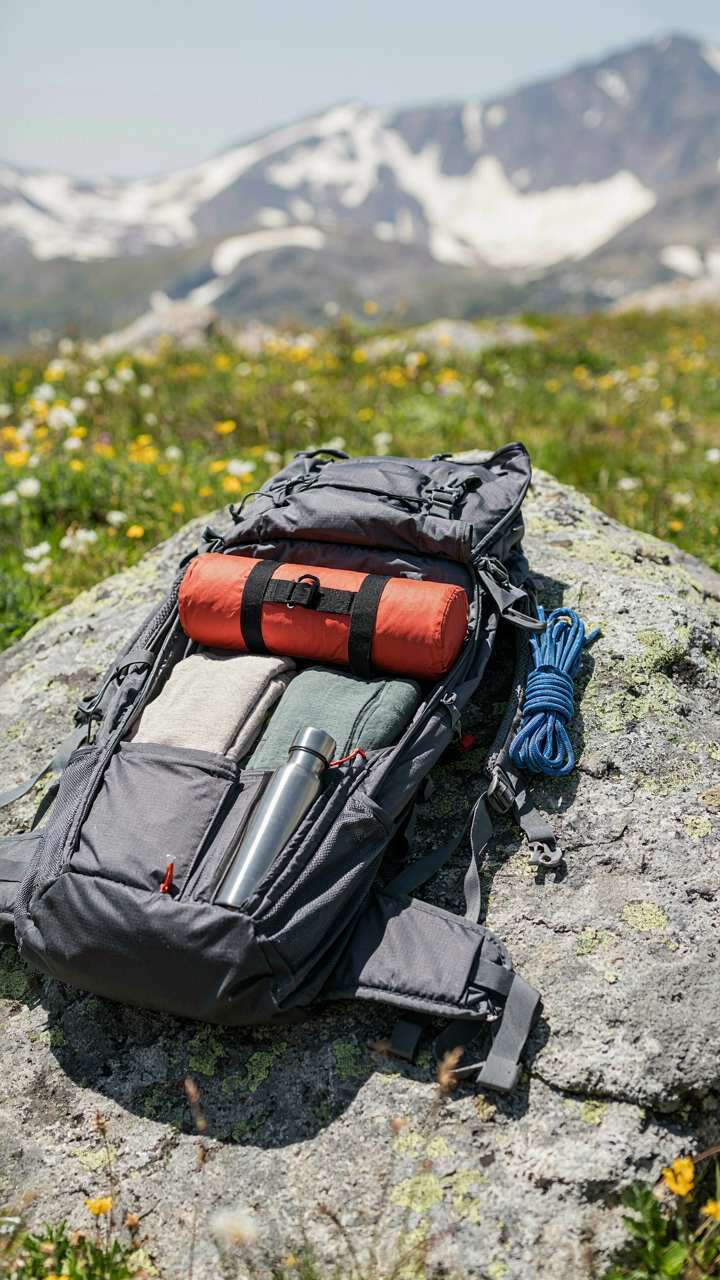
Strip Weight Like You’re Losing Money
You want to feel light on the trail because you think it makes you look capable. The real mechanism is physics: every pound you carry forces your legs to do more work, and over five days that compounds into joint damage and slower pace. The common advice says “bring what you need.” That’s useless. You need to subtract, not add.
Start by establishing a base weight target. Most trekkers hit 15-20 pounds of gear before food and water. Competitive backpackers operate at 8-12 pounds. The difference isn’t gear quality—it’s ruthless elimination. Remove items that serve one function only. Skip the separate camp pillow if your backpack can compress into one. Ditch the full-size camp towel for a microfiber cloth half its weight. Cut your clothing by 30 percent and accept that you’ll wear the same shirt twice. The protocol is simple: weigh everything, question everything, and keep only what survives the question “What happens if I don’t bring this?”
One Item Solves Two Problems

Multi-use design is borrowed from industrial engineering, where efficiency means reducing redundancy. In backpacking, it means your clothing, shelter, and tools collapse into fewer objects that each pull double duty.
Your sleep system should work as your insulation during the day. Wear your puffy jacket while hiking if the weather drops, not just at camp. Your trekking poles become tent stakes in emergency situations or rigging points for gear. Your stuff sacks double as camp pillows when filled with clothing. Your bandana serves as a face mask, water filter pre-stage, sweat rag, and makeshift sling. The best multi-use item is clothing that handles temperature swings without layering up five pieces. Merino wool or synthetic base layers trap heat when wet, unlike cotton, and dry faster than traditional hiking shirts. Strategic multi-use items cut your base weight in half without sacrificing function.
The “Leave No Trace” Protocol For Your Trekking Packing List
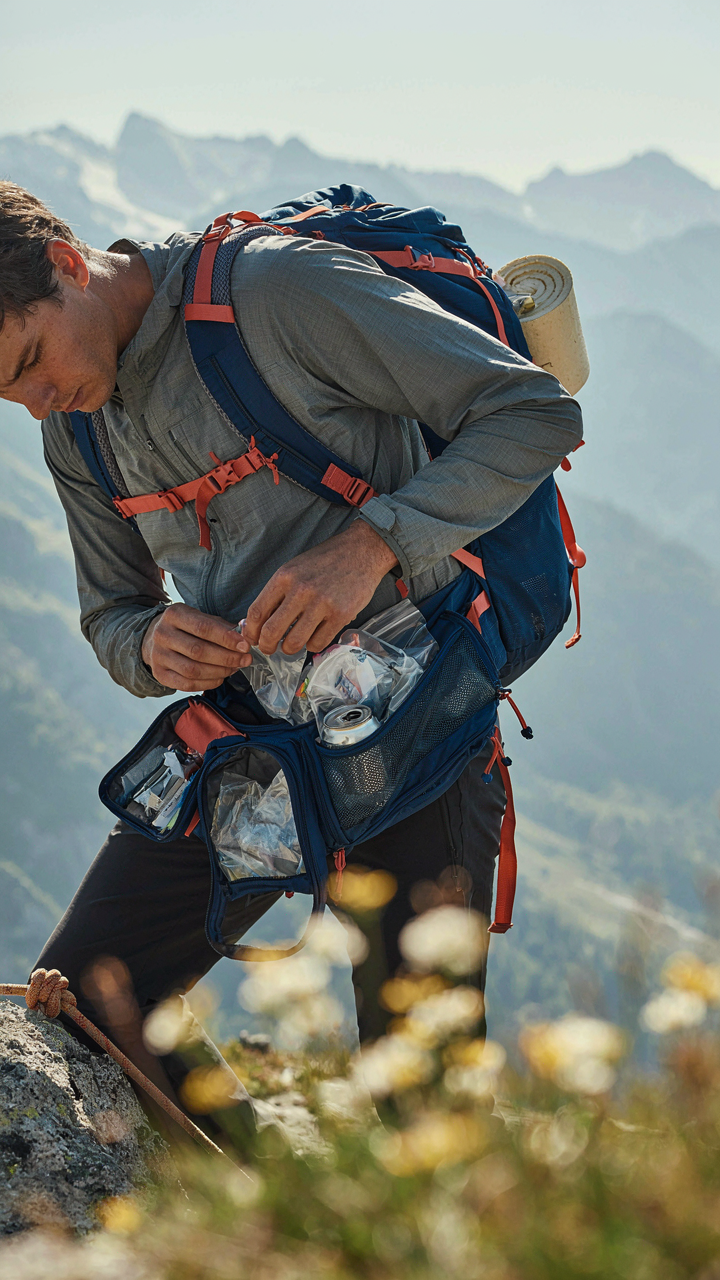
Pack Out What You Pack In
You want to feel like you’re doing the right thing without actually changing your behavior. The mechanism is simple: most trekkers think “Leave No Trace” means not littering. It doesn’t. It means every item in your pack must exit the trail in the same or better condition than it entered, which forces you to make packing decisions upfront instead of creating waste downstream.
Think of your pack like a closed-loop system in chemistry. Input equals output. If you bring five energy bar wrappers, five wrappers leave. If you bring wet wipes, they all return in a sealed bag. This isn’t virtue signaling. It’s logistics. The moment you accept that everything you carry has a return trip, you stop bringing items you can’t manage, and you stop leaving things behind.
Separate Trash Into Categories Before The Trail
Most advice stops at “bring a trash bag.” That’s lazy. You need compartmentalization. Organic waste, microplastics, metals, paper, and human waste each require different handling, and mixing them on the trail creates problems you’ll solve by abandoning items. Use small ziplock bags to pre-sort your waste categories before you leave, then your trail routine becomes moving trash from your pockets into existing containers instead of improvising solutions.
Compartmentalization prevents the mental friction that leads to littering. When a wrapper has nowhere to go, trekkers leave it. When it has a specific pocket, they don’t. Burn what burns cleanly (paper, cardboard) only at established fire rings where others have burned before. Pack out all microplastics, aluminum, and processed materials untouched. Human waste gets buried at least 200 feet from water sources in a small cathole dug six to eight inches deep. The protocol runs before you start moving.
Shelter & Sleep Systems: The Unseen Costs Of Comfort

Minimalist Shelter: What You’re Actually Buying
You want a shelter that weighs nothing and costs almost nothing, because you believe that proves you’re serious. Here’s the mechanism: shelter isn’t about protection—it’s about thermal envelope management. A bivy sack or ultralight tarp forces you to think in terms of wind blocking and moisture control rather than room size. You’re not paying for square footage. You’re paying for the efficiency of heat retention around your body.
The cult of minimalism gets this wrong. Ultralight doesn’t mean zero. A single-wall tarp or bivy trades weather versatility for weight savings. In wet conditions or high wind, you’ll discover the gap between theory and practice. The real choice isn’t minimal versus comfortable—it’s which problems you’re willing to own. A bivy sack condenses moisture against your face. A tarp requires site selection and stake discipline. A single-wall tent adds 8 ounces but eliminates both. Pick the trade-off based on where you’re actually going, not on what sounds disciplined.
Weight Against Warmth: The Thermodynamic Equation
Thermal dynamics governs sleep system design, and the variable most people ignore is ground insulation. A sleeping bag’s temperature rating means almost nothing if you’re losing heat to the earth beneath you. A 3-season bag rated to 20 degrees fails at 35 degrees if your pad is thin or missing. Your insulation stacks in series—bag plus pad plus shelter. Weak any link and the system collapses.
Down compresses under bodyweight and loses 90 percent of its insulating value when wet. Synthetic maintains insulation when damp, which matters more than the marketing suggests. A lighter synthetic bag paired with a high-R-value pad beats a heavy down bag with a cheap pad. Weight isn’t the enemy of warmth—efficiency is. Calculate your total sleep system weight by combining bag, pad, and shelter, then verify the R-value stacks for your destination’s actual temperature range. Weigh and rate your system together, not the pieces separately.
The Hydration & Nutrition Paradox For Your Trekking Checklist
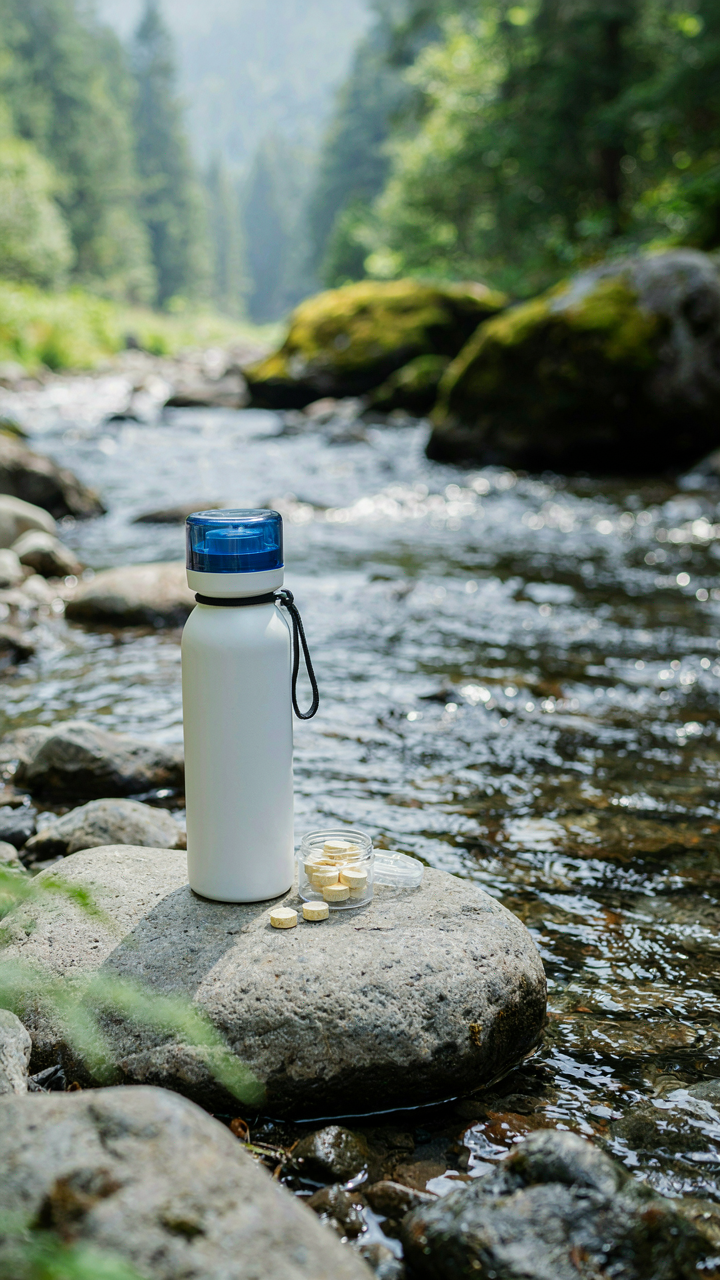
Don’t Filter Water The Way You Think
You’re worried about getting sick on day three because looking unprepared in front of others matters more than admitting it. Here’s the mechanism: water purification works through physics. Filtration removes particles. Chemical treatment (iodine or chlorine dioxide) kills microorganisms. Boiling denatures proteins in pathogens. Most trekkers choose filtration because it feels active and controlled, but filtration alone doesn’t kill viruses, which are smaller than bacterial cells and pass straight through mechanical filters.
The real play is combining methods. Use a filter rated to 0.1 microns for bacteria and protozoa, then add chemical backup for viruses, or boil water when weight permits. Squeeze filters clog slower than gravity systems on multi-day treks. Hollow-fiber filters work instantly. Chemical tablets take thirty minutes but weigh almost nothing. On alpine routes with glacial runoff, filtration handles the sediment load. In lower elevation areas with standing water, chemical treatment catches what filtration misses. Pick the system that matches your water source, not your ego.
Calorie Density Wins Over Variety
Food weight is leverage in climbing and distance. Leverage applies here: the energy return on carrying mass directly affects your pace and fatigue. Most trekkers pack rice and beans because they know those foods, not because they’re optimal. Those require cooking fuel and water. Dehydrated meals marketed for backpacking solve this, but single-source carbs leave you bonking on day two because your glycogen depletes faster without fat density.
- Nut butter packets (almond, peanut): 90 calories per ounce, no prep, fat slows energy crash, highest calorie-to-weight ratio for trekking.
- Dried fruit and nuts mix: 150-170 calories per ounce, carbs replenish glycogen, fats provide sustained energy, crushes snacking hunger between camps.
- Energy bars (dates, nuts, minimal sweetener): 100-120 calories per ounce, portable, temperature stable, no water needed, actual food structure beats liquid calories.
- Jerky or dried meat: 50-60 calories per ounce, protein preserves muscle during sustained exertion, prevents post-trek soreness, digests slower than carbs alone.
- Pemmican or calorie blocks: 150+ calories per ounce, used by Arctic expeditions, shelf-stable for months, designed specifically for high-output activity.
Fuel your trek with items that deliver calories without cooking. Track your actual consumption on short day hikes first. Most trekkers pack double what they eat because they calculate need theoretically instead of testing reality. Weigh your pack on day one at baseline weight, then adjust food mass downward after your first multi-day trip confirms actual burn rate.
Clothing Cadence: The Smart 3 Day Hike Packing List
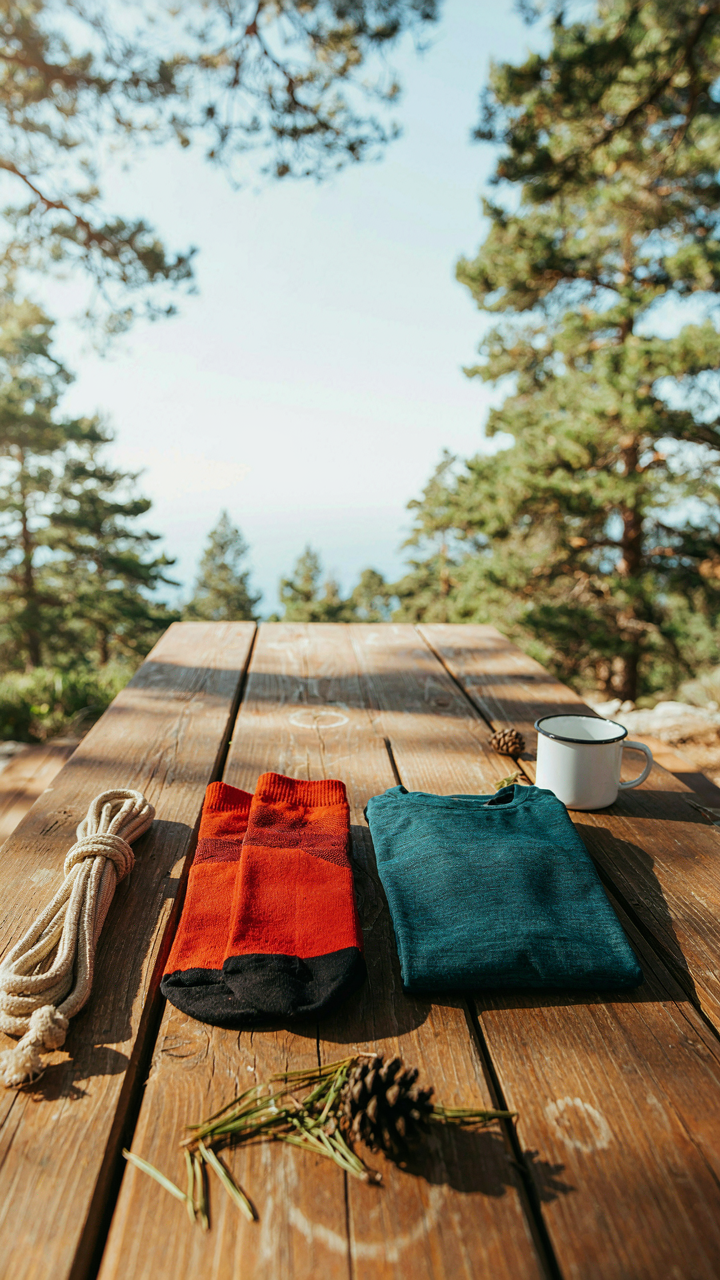
The Three Layer System
You want to look like you know what you’re doing without actually thinking about it. The real mechanism here is thermal regulation through air traps. Your skin generates heat. Layers create dead air space that your body heats. The base layer moves sweat away. The mid layer traps warmth. The shell blocks wind and rain. This isn’t theoretical. Temperature swings on a three day trek move 30 to 40 degrees between sun and shade, between day and night. One layer fails you. Three layers let you shed or add based on what’s actually happening, not what you predicted.
Most people overpack tops and underwear while leaving themselves one pair of socks. That’s backwards. Your feet generate more blister risk per square inch than anywhere else on your body. Bring two pairs of hiking socks minimum for a three day trek, even though it feels excessive. Your base layer should be one shirt. Your mid layer should be one fleece or wool sweater. Your shell should be one jacket. That’s it. You rotate, you rinse in camp water, you dry while moving. The system works because constraint forces efficiency.
Synthetic Versus Merino Versus Cotton
Cotton holds moisture and loses insulation when wet. It’s the wrong material for multi day trekking, period. The real choice sits between synthetic and merino wool, both of which manage moisture differently. Synthetic fibers wick fast and dry quickly. Merino wool regulates temperature better and resists odor longer between washes. For a three day trek, merino wins. You wear the same base layer top two days straight without it becoming a biohazard. Synthetic requires more frequent washing or a second shirt.
The cost difference matters less than people think. Merino wool costs 40 to 60 percent more upfront but lasts through 100 plus days of trekking. Synthetic wears out around 50 days before pilling accelerates. If you trek twice a year for five years, merino is cheaper. Your decision should factor total treks, not initial price. Pack one merino base layer top, one merino pair of socks, one synthetic mid layer, one shell. Wash the merino in camp. The synthetic dries faster if you need a backup on day two.
Navigation & Safety: Your Non Negotiable Hiking Pack List

Map And Compass Still Work
You want navigation tools because you’re afraid of looking incompetent in front of others or being genuinely lost. The mechanism is simple: electronic devices fail. Batteries die. Signal vanishes. A map and compass operate on physics, not algorithms. Magnetism doesn’t require charging. Paper doesn’t glitch. On a multi-day trek, your navigation redundancy is like a military supply line—if your primary route collapses, your secondary route keeps the operation moving.
Carry a detailed topographic map of your entire route plus ten kilometers in every direction. Waterproof it or seal it in a plastic bag. Learn how to orient the map to terrain and take a bearing before the trek starts, not during an emergency. Most people skip this. They bet on their phone. Their phone fails them. A compass costs twelve dollars. Your safety doesn’t scale with battery percentage.
Bleed Control And Core Warmth
The real emergency on a multi-day trek isn’t a broken bone—it’s hypothermia or uncontrolled bleeding stopping your evacuation. Most packing lists bloat with bandages and ignore what actually kills people fast. You need a compression bandage, a tourniquet, and an emergency shelter. A tourniquets stops arterial bleeding in seconds. A compression bandage handles deep lacerations. An emergency bivy sack or foil blanket keeps your core temperature stable when weather shifts or injury forces a night stop.
Add a basic first aid kit with blister treatment, pain relief, and antibiotic ointment. Include a whistle. In dense terrain or bad weather, a whistle carries farther than a voice and requires no batteries. Tape the tourniquet to the outside of your pack so you don’t fumble for it when time matters. Pack the bivy sack at the very top, accessible in under thirty seconds.
The “Antifragile” Gear Selection Method For Your Hiking Packing

Build Redundancy Into Critical Systems
You want to feel secure without carrying dead weight. That’s the real tension here. Biology teaches us that redundancy in critical systems isn’t waste—it’s the mechanism that keeps organisms alive when single components fail. Apply this to your pack: identify which failures kill the trek, then build redundancy into only those systems.
Critical systems are shelter, water access, and foot protection. Your tent fails in heavy rain, you’re done. Your water filter clogs, you can’t hydrate. Your boots tear, your feet dictate the pace. Don’t redundantly pack two sleeping bags. Do pack two methods to filter or carry water. Carry backup socks and blister treatment. One backup shelter layer, not two jackets. Redundancy scales to actual risk, not to comfort.
Adaptability Beats Specialization For Terrain Variables
Specialized gear solves one problem perfectly and fails everywhere else. Generalist gear solves five problems adequately. A multi day trek crosses variable terrain, weather, and elevation—conditions you can’t fully predict. Your packing strategy should favor items that solve multiple problems over items that solve one problem beautifully.
A wool base layer regulates temperature when wet or dry, wicks moisture, and resists odor across temperature swings. A specialized ultralight synthetic shirt dries faster in one narrow condition but fails in cold wet scenarios. A trekking pole doubles as a tent stake, fire kindling support, and stream crossing aid. A lightweight rain shell works in drizzle, wind, and as a moisture barrier for your pack. One versatile piece of gear beats two specialist pieces in a shifting environment.
Personal Care & First Aid: Streamlining Your Hiking Kit List
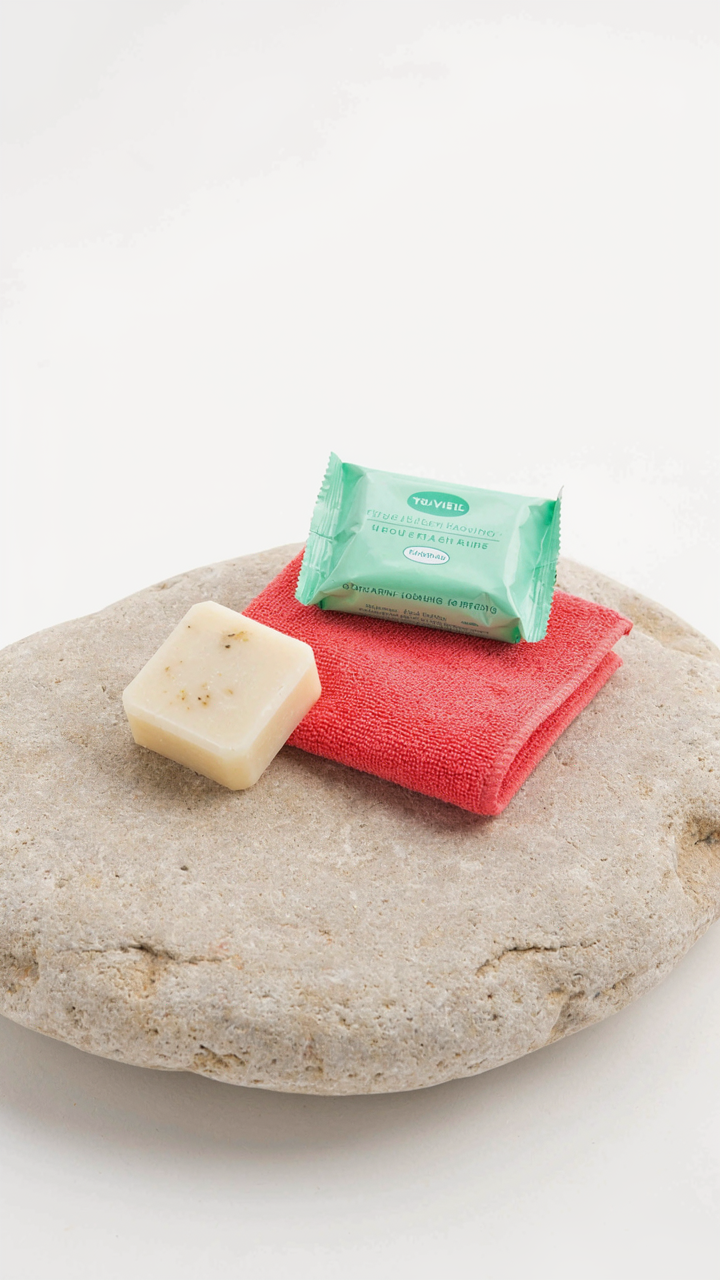
Hygiene On The Trail Without The Ritual
You want your hygiene routine to signal you’re “prepared,” but what you actually need is permission to do less. The mechanism is simple: bacteria on skin multiply slowly in cold, dry air. A multi-day trek isn’t a hygiene failure—it’s a controlled environment where standard grooming rules don’t apply.
Strip your kit to biodegradable soap, a microfiber towel, and wet wipes. That’s it. Dry skin matters more than clean skin. Apply sunscreen to exposed areas and call yourself done. Your body won’t revolt over three days without a shower, but blisters from wet socks will wreck your hike fast.
First Aid: Build Backwards From Real Risk
Most first aid kits bloat because people pack for emergencies they’ll never face on a multi-day trek. Military medics use triage protocols—they prioritize by likelihood and consequence. A blister ends your trek. A scraped knee doesn’t. Pack accordingly.
Include blister treatment, pain relievers, electrolyte powder, antihistamine, and adhesive tape. Nothing else earns its weight. Skip the tweezers, the burn cream, the antacid. If you need serious medical attention on a trek, you’re already calling for rescue—your kit won’t save you. Blister prevention is your actual first aid strategy, so start with proper socks and break-in protocol before you leave.
The Backpack Itself: More Than Just A Container
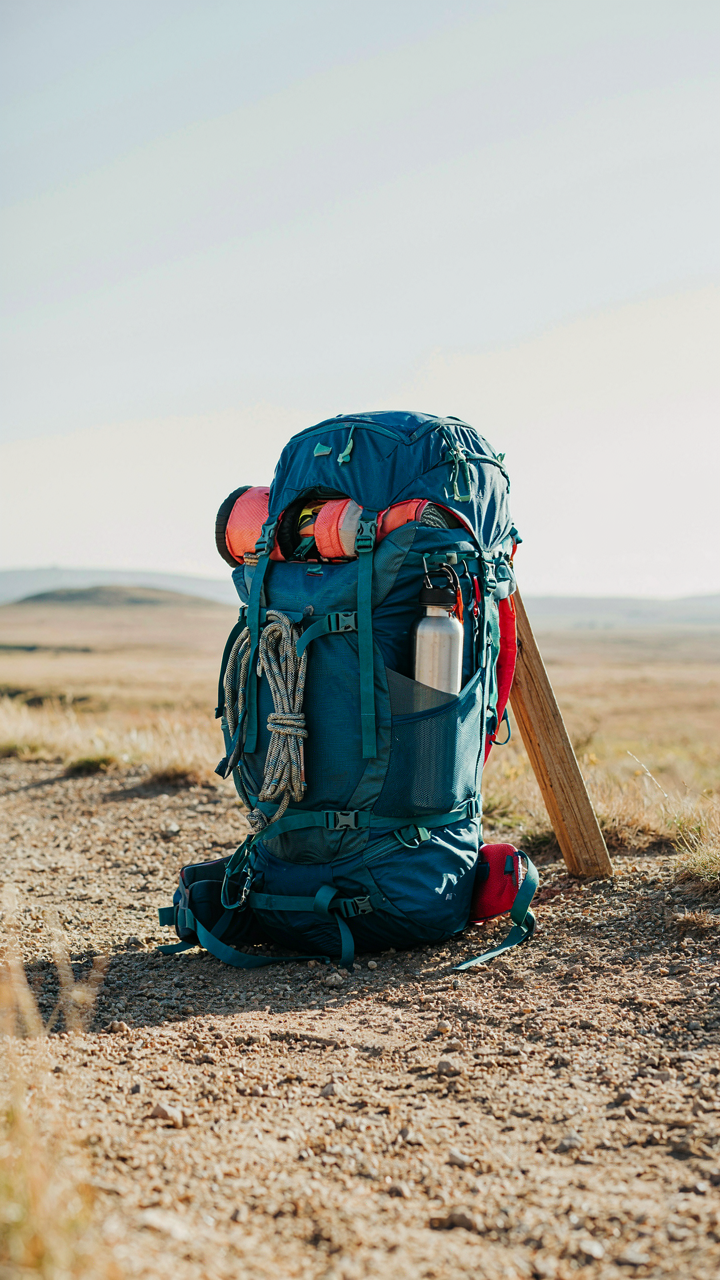
Capacity Matches The Math, Not The Feeling
You want a pack that feels like it could hold everything because you’re afraid of leaving something behind. That’s not how this works. Pack capacity is a physics problem, not a security blanket. Your actual gear volume determines the number you need, and guessing costs you weight and discomfort.
Multi-day treks demand 50-70 liters for most people. A three-day trek with camping gear, food, and water requires roughly 60-65 liters. A five-day trek with resupply points might stay at 55-60. The math: each day of food adds 1.5-2 liters, shelter systems add 8-12 liters, and clothing layers add 5-8 liters depending on climate. Oversizing by 20 percent sounds safe. It creates dead space that shifts your load and wastes kilograms you’ll carry on your feet.
Load Distribution Wins Before You Step Out
Load distribution is a biomechanics problem. Your spine and hips act as a cantilever beam, and the backpack’s center of gravity either loads or unloads that system. Most packing advice ignores this entirely. It focuses on organization instead of physics.
Place heavy items close to your back and centered between your shoulders and hips. This minimizes torque and keeps your core stable. Pack weight should sit high on your frame, never sagging below your hip belt. Your hip belt carries 65-80 percent of the load. Shoulder straps stabilize and prevent sway, not support. A properly fitted pack transfers load directly through your hips to your legs. Test this before departure by wearing your packed bag for one hour on flat ground, adjusting strap tension until you feel zero shoulder strain.
Winter Trekking & Special Conditions: Beyond The Camping Checklist
The Real Mechanics Of Cold Weather Gear
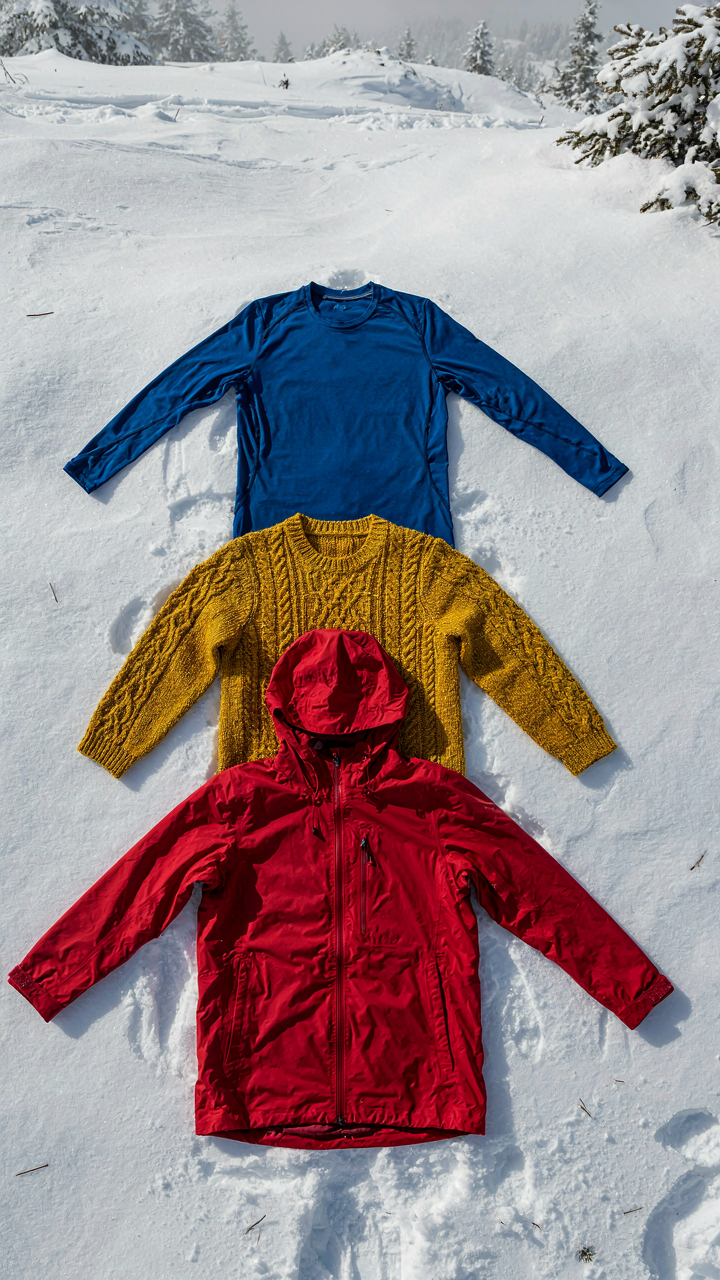
You want this section because you’re terrified of getting it wrong and looking unprepared in front of others. The mechanism is simple: cold doesn’t kill you through temperature alone. It kills you through moisture. Your body generates heat through movement, then sweat cools you faster than ambient air ever could. The gear hierarchy isn’t about thickness—it’s about vapor transport. Base layers wick, mid-layers insulate, outer shells block wind and shed water. Most trekkers reverse this logic and wear cotton, then wonder why they’re hypothermic at 40 degrees.
The standard advice says “layer up,” which is incomplete garbage. You need to understand psychrometrics—the physics of how moisture moves through materials. A tight synthetic base layer paired with a loose wool mid-layer beats any single thick insulator because it creates an air gap that traps dead space. Your pack weight increases, but your survival margin expands. The moment you stop moving, wind speed matters more than ambient temperature, so your shell becomes your primary defense, not your insulation.
- Synthetic Or Merino Base Layer: Moves sweat away from skin faster than natural fibers. Test both—merino breathes better but synthetic dries quicker. Either beats cotton permanently.
- Fleece Or Down Mid Layer: Fleece retains warmth when wet. Down compresses smaller but fails catastrophically if soaked. Choose fleece for rain-prone regions, down for dry cold.
- Hard Shell Jacket: Wind stops 90% of heat loss in winter. Waterproof membranes matter less than breathability in active trekking. Gore-Tex or equivalent handles both.
- Insulated Pants: Most trekkers neglect leg insulation. Heat loss through legs rivals torso loss. Synthetic or down pants become essential above 8,000 feet or below freezing.
- Gloves And Socks In Layers: Carry thin liner gloves plus heavy mittens. Thin wool sock liners plus thick outer socks let you adjust without removing boots. Numb fingers stop you faster than sore feet.
Temperature drops predictably with elevation and time of day. Pack for the coldest hour, which is always dawn at your highest altitude, not the midday reading. Most multi-day treks happen at elevation where nights dip 20 to 30 degrees below forecasts. Your sleeping bag rating should match the lowest temperature you’ll encounter, not the average. Start moving before dawn to generate heat before you stop.
Extreme Environments Demand Protocol, Not Improvisation
Extreme isn’t a feeling—it’s a measurable threshold where standard gear fails. High altitude, desert, jungle, or sustained rain each break different assumptions from your baseline pack. The mistake is treating them as variations of the same trek. They’re separate problems requiring separate solutions.
High altitude treks above 12,000 feet demand layering for temperature swings that can exceed 40 degrees between sun and shade. Your metabolism burns 25 percent more calories, so food quantity matters before food type. Hydration becomes invisible—your body needs more water than thirst signals because the air is dry and your breathing increases. Pack water capacity that handles 2 to 3 liters per day minimum. Extreme heat treks in deserts or lowland jungles flip the problem: your clothing must cover skin to prevent sun damage, but breathability becomes your primary filter. Dense shade is rare, so your pack becomes your portable shelter. Sustained rain environments like monsoon regions strip your margin—every item gets wet, gear weights double, and mold grows on everything you don’t dry. Invest in pack covers and dry bags before you invest in extra socks. The protocol is simple: identify which single variable will kill you fastest in your specific environment, pack for that variable first, then optimize around it.
The Only Thing Holding You Back From A Lighter Pack Is Your Attachment To Excess
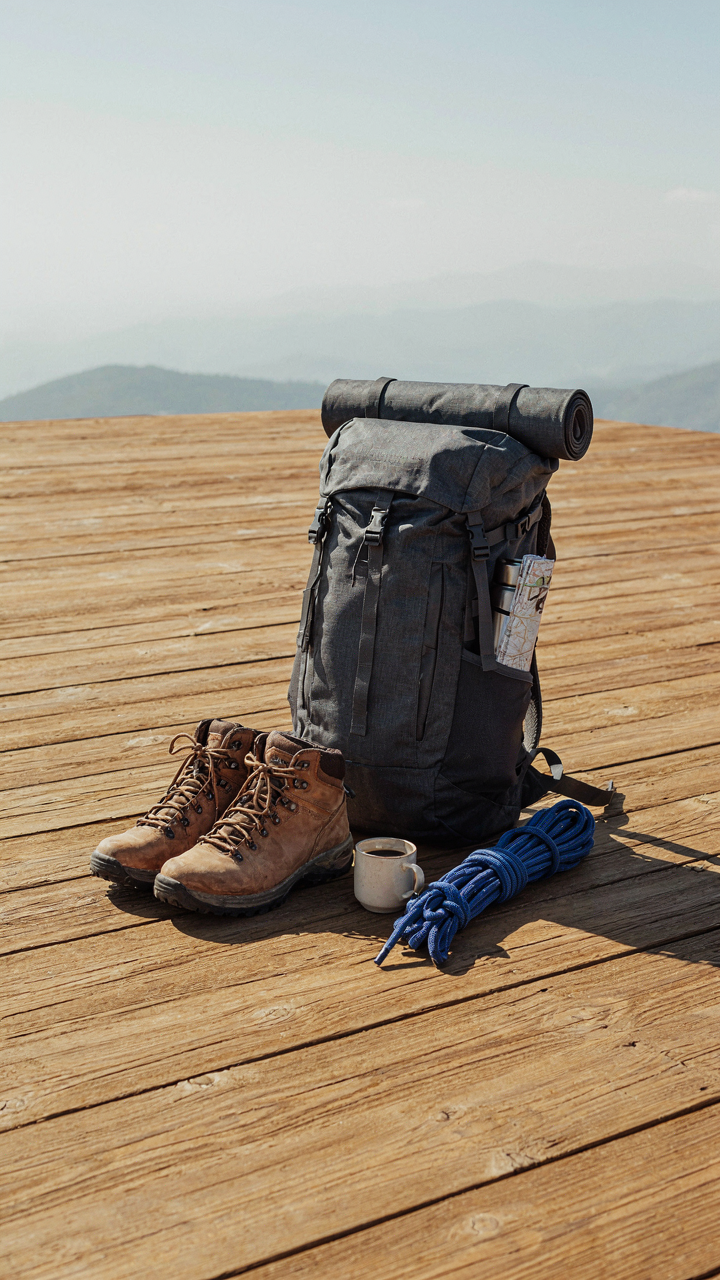
You don’t need a better multi day trek packing list. You need permission to leave things behind. Every item you pack is a bet that you’ll use it. Most bets lose. Stop optimizing for hypothetical scenarios and start optimizing for motion. Pick up your current backpack right now. Remove one thing you haven’t touched in a year. Then remove three more. Your body will thank you on mile eight when everyone else is limping and you’re still moving forward. A lighter pack isn’t about having less stuff. It’s about trusting yourself enough to go with it.