

The Information Diet: Starve The Generic

What Everyone Tells You To Ignore
You want to feel prepared. That’s the real reason you’re reading this. The mechanism is simple: your brain mistakes information volume for competence. More data feels like more control. It isn’t. Most hiking trip research comes from sources that have no stake in your specific trip. Blog posts rank on Google because they’re comprehensive, not because they’re useful. REI guides, AllTrails reviews from randos, YouTube channels optimized for watch time—they’re selling you generic frameworks that apply to nobody’s actual hike. The real constraint isn’t finding information. It’s filtering out the noise that makes you feel prepared without making you actually prepared.
What you need is a brutal filter: if the information doesn’t change your decision or your pack, it doesn’t belong in your research phase. Elevation gain matters. Water source locations matter. Weather patterns from the past five years matter. A photograph of someone else’s sunset doesn’t. Most hikers spend 70 percent of their research time on content that has zero tactical value. They’re building a story, not a plan. Stop doing that.
Ground Truth Over Consensus

The strongest data comes from people who have skin in the game. Use economics terminology here: information asymmetry kills most hiking research. The sources with the most to lose are the ones that tell you what actually works. A local ranger who manages the trail is not paid by content engagement. A gear reviewer selling products is. A Facebook group of hikers who actually live near the trailhead will contradict the consensus blog post because they have to hike there again next month. The hiker who posts one review five years ago has already moved on. The local who updates conditions weekly cannot afford to mislead you.
Your job is to find sources with recurring consequences for bad information. Contact the ranger station directly instead of reading the official website. Call ahead. Ask about recent incidents. Join the specific regional hiking group for that area and lurk for a week before asking anything. Find the trip report from someone who hiked it in the last three months, not the most popular one from three years ago. The goal is to talk to or read from people whose reputation gets damaged if they steer you wrong. That’s where the signal is.

The Terrain Reconnaissance Protocol
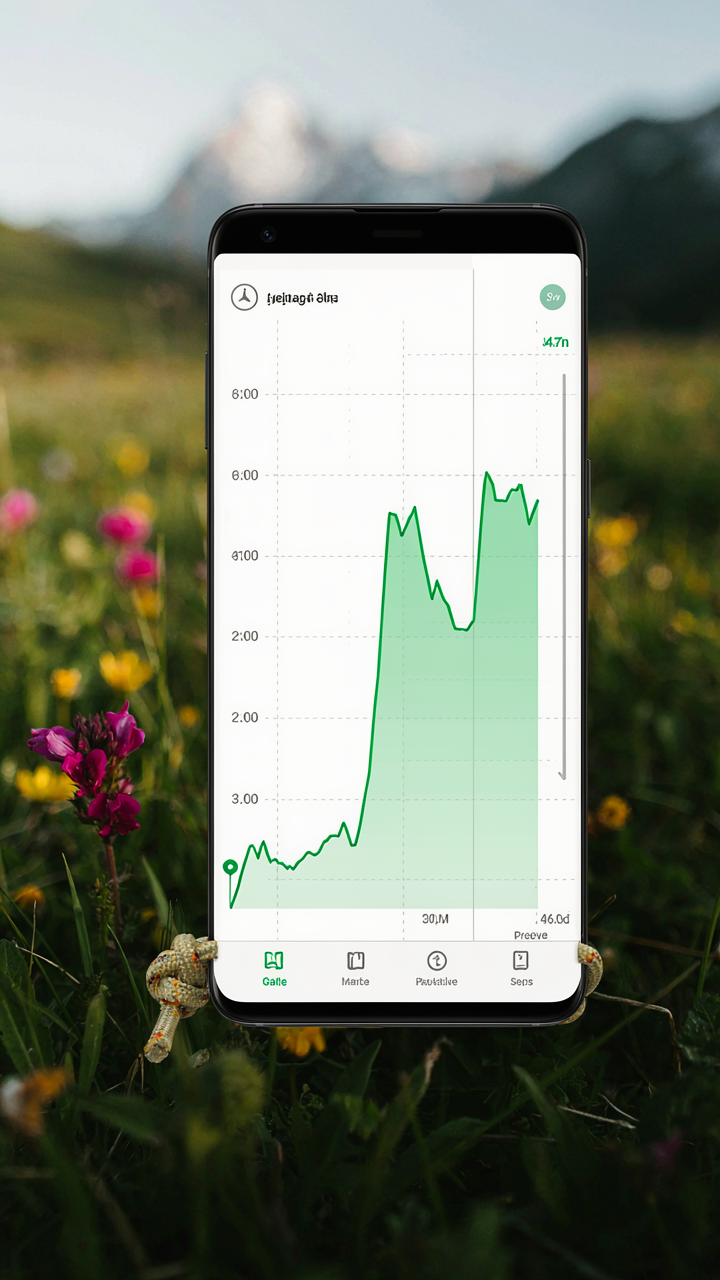
Read The Elevation Profile First
You want to know if you can handle the hike without admitting you’re afraid of looking weak. Here’s the mechanism: elevation profiles expose the real work. A topographic map shows you steepness, not just distance. Most hikers ignore this and focus on mileage, which is why they bonk halfway through. The grade percentage matters more than total elevation gain. A 2000-foot gain spread over 10 miles is different from 2000 feet in 3 miles. Apps like AllTrails and Gaia GPS display both distance and elevation gain simultaneously.
Start by checking the steepest section of your chosen route. Most trails front-load or back-load their difficulty. Knowing whether the brutal section hits mile two or mile eight changes your pacing strategy entirely. Cross-reference the profile against your recent hike performance. If you struggled on a 1000-foot-gain hike last month, don’t book a 2500-foot-gain hike this weekend. The elevation profile tells you whether this hike fits your current fitness level or requires training first.
Spot The Real Obstacles Before You Leave
The common advice is to check trail reviews. That’s lazy. Reviews tell you what annoyed people, not what will stop you. Use topographic maps to identify stream crossings, cliff edges, and exposed ridges. The USGS Topos app shows terrain features that GPS tracks miss entirely. Scout for water hazards on the contour lines. Tight concentric circles mean steep drops. Scattered blue marks mean water obstacles that change seasonally.
Natural obstacles determine which trails are actually passable in your season. A trail with a north-facing stream crossing in April requires different prep than the same trail in August when water runs low. Check recent trip reports specific to your intended date, not just generic reviews from any season. Weather and runoff shift what “hikeable” means week to week. Before committing, confirm trail conditions through local ranger stations or hiking group Discord channels where people post current photos.
Weather Warfare: Anticipating Nature’s Attacks

The Forecast Trap And Why It Fails You
You want the forecast to tell you what to pack so you don’t look unprepared. It won’t. Most hikers treat a weather forecast like a promise, then get blindsided because they don’t understand the mechanism: forecasts degrade in accuracy beyond 72 hours and fail entirely at the hyperlocal scale where you actually hike. A 10-day forecast for your trailhead tells you almost nothing about conditions at 8,000 feet or in a canyon that funnels wind differently than the surrounding terrain.
Microclimates operate on geography, not meteorology reports. Your trail elevation, aspect, tree cover, and proximity to water create their own weather systems independent of what the regional forecast shows. Check the forecast as a baseline, not as gospel. Then cross-reference it against historical weather patterns for that specific elevation and month. Sites like NOAA’s forecast discussion and local ranger district pages give you the mechanism: what atmospheric setup actually produces your region’s worst weather, and when. This tells you what to prepare for, not what will definitely happen.
Sudden Shifts Demand A Non Negotiable Protocol
Most advice says “bring layers.” That’s incomplete. The real question is how fast conditions change and whether you can respond in time. Temperature swings of 20 to 30 degrees happen within miles of elevation gain, and wind direction shifts can flip a protected ridge into an exposure problem in minutes. You need a decision tree, not hope.
Build this before you leave: what conditions force you to turn back, what conditions require a gear adjustment, and at what point in your hike you can no longer safely retreat. Check avalanche forecasts if snow exists, wind reports above treeline, and afternoon storm probability during monsoon or convective seasons. Know your own limits on exposure, fatigue, and daylight buffer. The protocol is simple: if actual conditions breach your predetermined turn-back threshold before you summit, you descend. No negotiation. Execute this, and weather becomes a variable you manage instead of a surprise that controls you.
Gear Loadout: The Minimalist’s Edge
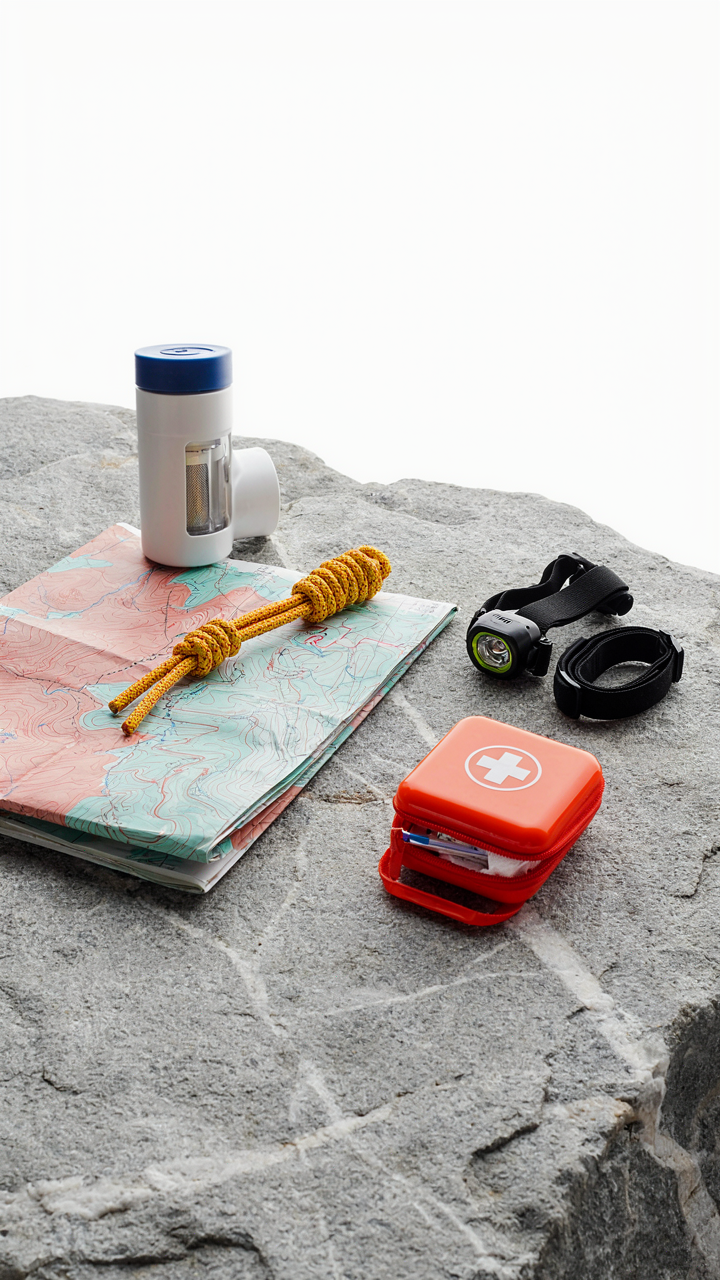
What Actually Goes In Your Pack
You want to feel prepared. That’s not preparation talking, that’s fear. The real mechanism is constraint: every ounce you carry above necessity taxes your decision-making capacity on the trail. Cognitive load from excess weight bleeds into poor route choices, missed hazards, and faster fatigue. Research your specific terrain and season first, then work backward to what you actually need.
- Navigation tools: Map, compass, GPS device. Pick one primary method based on trail clarity. Phone GPS drains battery fast on long hikes, so carry a backup device or paper map in wet conditions.
- Water and filtration: Bottles or hydration bladder plus filter or purification tablets. Calculate your route’s water source spacing to determine capacity needed, not just what feels safe.
- First aid: Blister treatment, pain relief, bandages, and electrolytes. Customize this for your body’s history. A stress fracture history means more tape; blisters mean better socks.
- Weather protection: Insulating layer and rain shell appropriate to season and elevation. Research average conditions for your specific date, not just “summer” or “winter.”
- Emergency signaling: Whistle and headlamp with spare batteries. These weigh ounces and enable rescue response if things collapse beyond your control.
Most people pack duplicates for peace of mind rather than actual strategy. Weight your pack before you leave and know exactly what it contains. This eliminates decision paralysis on the trail and forces honest conversation about what prevents catastrophe versus what prevents minor discomfort.
The Backup That Saves You Vs The Redundancy That Wastes You
The consensus says carry backups of everything. Wrong. A backup serves one purpose: it handles the failure of a critical system when you cannot exit the trail safely. Everything else is emotional insurance masquerading as preparation. The economics here are clear: weight trades directly for injury risk, fatigue, and decision quality. Carry one backup for navigation and one for water treatment. Carry spare socks if blisters end your hikes. Skip the duplicate headlamp unless you’re in genuine wilderness past rescue range.
The research step that separates smart from paranoid is terrain classification. If your hike is a marked trail within cell range and day-trip distance from trailhead, your backup needs are minimal. If you’re in alpine terrain with weather swings, water sources you must filter, or potential navigation ambiguity, your redundancy calculus shifts. Cross-reference trail reviews, elevation gain, and official difficulty ratings against your own fitness level and experience. That gap tells you whether to pack conservatively or aggressively. Once you’ve mapped the actual constraints, pack exactly for those constraints, not for generic hiking scenarios.
Water & Rations: Sustenance Strategy

Know Your Water Sources Before You Leave
You want to feel prepared, which means you’re searching for a checklist to download. Stop. The real mechanism is source verification: you need to know whether water exists where you plan to be, not just assume it does. Hydrology, the study of water systems, teaches us about flow patterns and seasonal variance. A spring marked on a 2015 map may run dry by July. Check current trip reports from the last 30 days, not guidebooks. Filter or purify water using tested methods: boiling (kills everything), chemical tablets (lightweight, slow-acting), or pump filters (fast, require maintenance). Verify your purification method works before departure.
Many hikers grab whatever water source appears nearby, then get sick three days in. Scout your route’s water points now through recent hiking forums, park service updates, and weather data showing recent rainfall. If a source depends on snowmelt and you’re going in drought season, find an alternative. Cross-reference multiple sources. One report is anecdotal. Five reports from different hikers in the last month show a pattern. Document GPS coordinates of confirmed sources so you don’t waste time searching mid-hike.
Fuel Density Over Appetite
Physics governs backpacking nutrition: you’re managing a weight-to-energy ratio. Food engineers call this caloric density, measured in calories per ounce. A pound of peanut butter delivers 2560 calories; a pound of lettuce delivers 80. This isn’t about eating better. It’s about carrying less weight so you can cover more distance or recover faster. High-density options include nuts, nut butters, dried fruit, olive oil, chocolate, and jerky. Low-density foods like fresh fruit or vegetables create dead weight. Calculate your total daily calorie burn based on terrain difficulty and pack weight, then select foods that meet that number with minimum pounds.
Most advice tells you to eat what you like. That’s false economy. Your body burns roughly 25% more calories hiking with a heavy pack than without it. Removing one pound of food weight saves you roughly 300 calorie burns per day. That’s real. Pre-portion your meals into daily packs before the trip so you don’t overpack or underpack. Weigh everything. Use a digital scale. Then you know exactly what you’re carrying and why.
Route Contingency: The Antifragile Approach

Primary, Alternate, Emergency Routes
You want to feel prepared without actually doing the work. That’s why people skip this step. Military strategy separates routes into primary, alternate, and emergency tiers because outcomes depend on optionality, not luck. Most hikers plan one route and hope conditions don’t force a decision.
Your primary route is what conditions permit you to execute. Your alternate route absorbs the reality that weather, trail damage, or personal fatigue will force a pivot. Your emergency route is the fastest legal descent if you need to exit immediately. Map all three before departure. Each should connect to known water sources and bailout trailheads.
Decision Points And Abort Criteria
Most hiking disasters happen because people kept moving when they should have stopped. The mechanism is simple: you establish abort criteria before emotion clouds judgment. Define the exact conditions that trigger each route change. Temperature, time, injury, weather, group pace, daylight remaining, water availability. Put numbers to them.
At mile three, you reassess. If you’re behind schedule by more than fifteen percent, you shift to the alternate route. If the pass has snow above ankle depth, you abort and descend. If one person can’t maintain the group’s pace, you turn back. Write these thresholds down. Your brain will try to rationalize past them when you’re tired.
Permits & Regulations: The Bureaucratic Gauntlet
When You Actually Need Permission
You’re hoping the permit requirement doesn’t apply to you. That’s the real reason you’re here. But the mechanism is simple: land agencies use permits to manage capacity and track use. If a trail gets destroyed or a campsite gets trashed, they need data on who was there. Ignoring a permit requirement doesn’t make it go away. It makes you liable.
Most trails don’t require permits. National forests rarely do. But popular backcountry areas, national parks, and wilderness zones almost always do. Check the managing agency’s website first. If they have a permit system, you apply before arrival. Some use lottery systems that close months ahead. Others operate first-come, first-served with daily quotas. The timeline matters more than the process. Start this research eight weeks before your trip, not two weeks.
Leave No Trace Isn’t Just Ethics
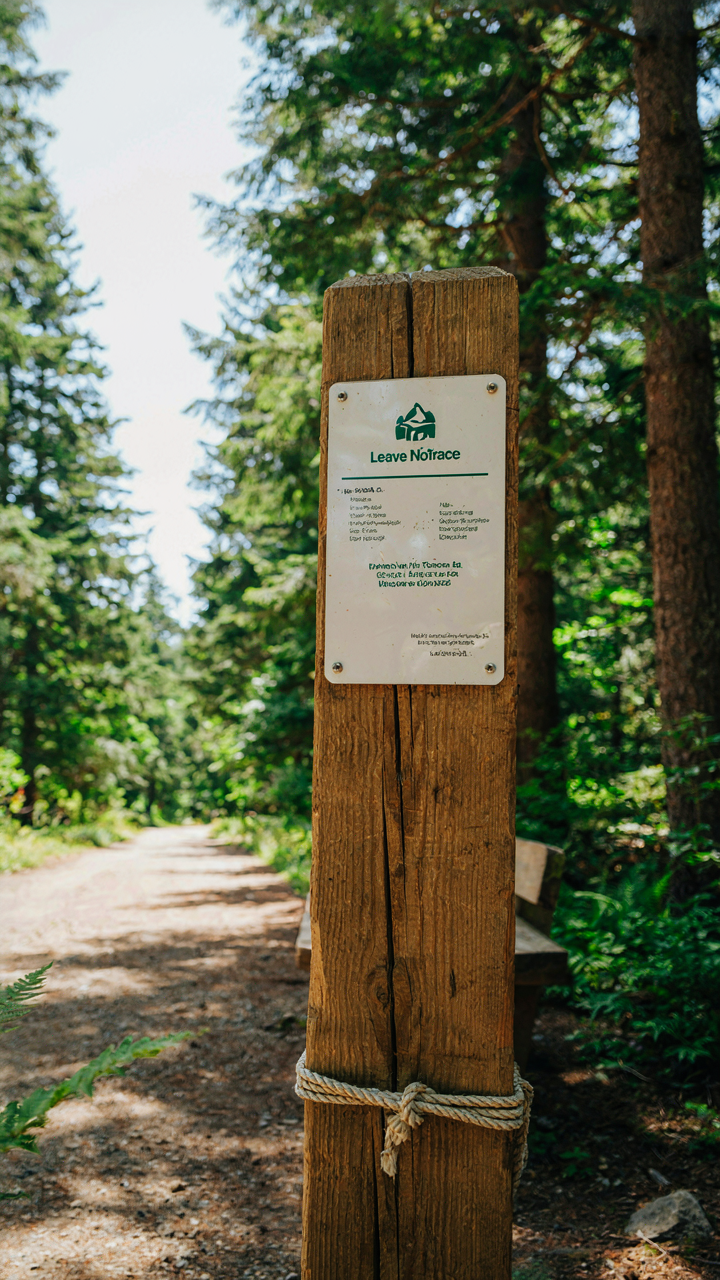
Leave No Trace borrows from systems ecology. Think of it like carrying capacity: exceed the threshold and the system collapses. The difference is you’re applying threshold thinking to human impact, not just wildlife populations. The seven principles exist because land agencies proved certain behaviors degrade soil, water, and vegetation at measurable rates.
Research which principles matter most for your specific ecosystem and trail. Desert hiking demands different water practices than alpine hiking. Popular trails need stricter campsite discipline than remote ones. Your research checklist should include the trail’s degradation history and whether rangers have posted specific restrictions. Some areas prohibit campfires entirely. Others require bear canisters in specific zones only. Know these rules before you pack. The alternative is contributing to trail closures that affect everyone after you.
Physical Conditioning: Beyond The Couch
Train Specifically For Elevation And Distance
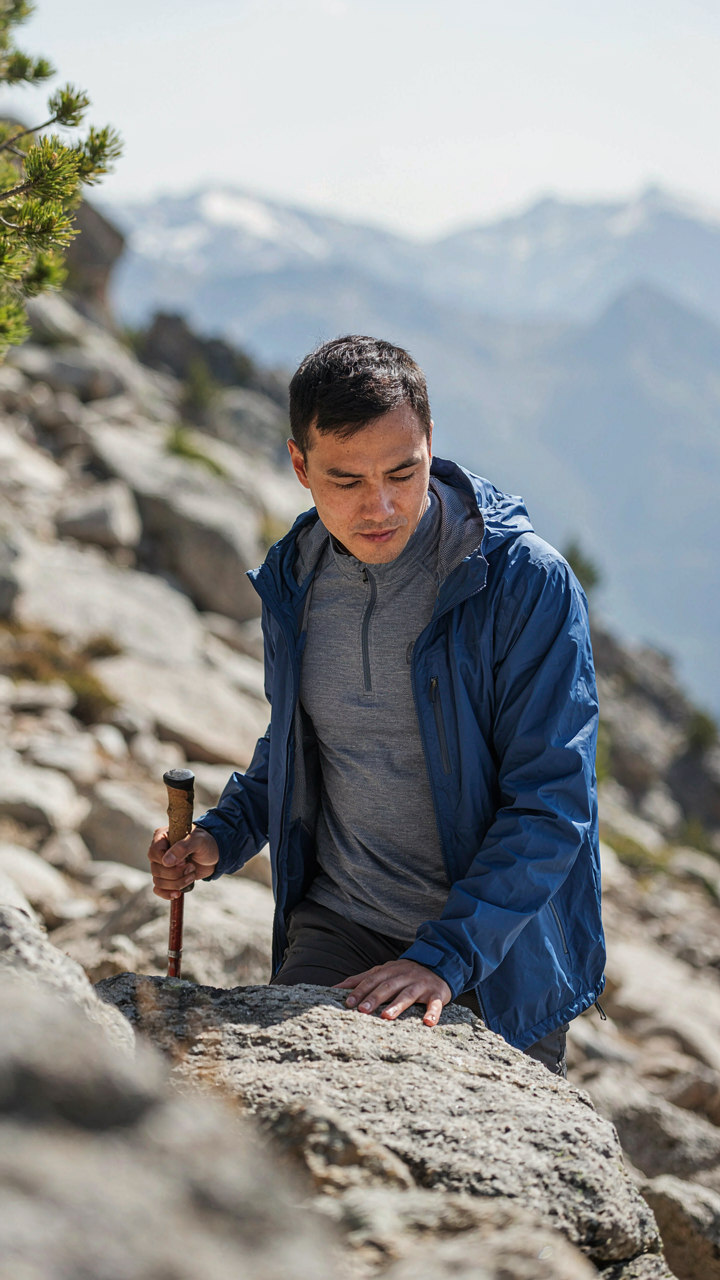
You want to show up and not suffer. Here’s what actually matters: elevation gain taxes your cardiovascular system differently than flat terrain. Distance on flat ground means nothing if you haven’t practiced climbing. Your body adapts to specific demands. Train the exact conditions you’ll face, not generic fitness. A gym membership doesn’t prepare you for sustained uphill work in thin air.
Build a protocol around the trail’s elevation profile and distance. If your hike gains 3,000 feet over eight miles, do hill repeats on a steep incline for six to eight weeks prior. If it’s mostly flat but long, focus on time on feet at steady pace over distance. Match your training stimulus to the actual physiological demand. Run or hike the same vertical gain your target trail requires, even if the specific terrain differs.
Bulletproof Your Joints Before The Trail
Injury prevention isn’t about stretching or foam rolling. It’s about load management and structural durability. The mechanism: tendons and ligaments adapt slower than muscles. You build muscular endurance in weeks but connective tissue takes months. Start conditioning eight to twelve weeks before a major hike, not two weeks. Your knees, ankles, and hips need time to handle repeated impact and uneven ground.
Focus on eccentric strength work, which mimics downhill stress where most hiking injuries occur. Single-leg step downs, reverse sled drags, and controlled descents on stairs build the resilience your joints demand. Add mobility work only where you actually lack range of motion, not everywhere. Recovery between training sessions determines adaptation, so space hard efforts three days apart minimum. Test your conditioning on a practice hike two weeks before your target date. Soreness tells you where weakness still exists so you can address it before commitment.
Emergency Protocols: When Shit Hits The Fan
What Actually Belongs In Your Pack
You’re reading this section because you want to feel prepared, but preparation isn’t a feeling—it’s redundancy. Most hikers pack first aid kits designed by marketing departments, not by people who’ve had to use them. The mechanism is simple: you need items that address the actual failure modes on your specific route, not generic trauma supplies that look professional in a waterproof pouch.
Research your trail’s elevation, exposure, and distance from rescue. A day hike in a populated area demands different supplies than a remote overnight. Match your kit to the specific risks you identified in your pre-trip research, not to what REI displays at checkout.
- Blister management: Moleskin, needle, tape, and antibiotic ointment. Blisters disable hikers faster than almost any injury. Test your boots before the trip—this is prevention research, not equipment research.
- Wound closure: Butterfly bandages and athletic tape. Deep cuts in remote terrain need immediate containment. Carry more tape than you think necessary; it multitasks.
- Pain and inflammation: Ibuprofen and acetaminophen. Both work differently. Include doses for your bodyweight and expected duration of exposure.
- Bleed control: Gauze pads and a compression wrap. Most bleeding stops with pressure. Size your supply to your group size and distance from help.
- Hydration salts and glucose: Electrolyte tablets and energy gels. Dehydration and bonking are preventable with data—know water sources and trail gradient before you go.
Pack your kit in a dry bag inside your main pack, not attached to the outside. Test every item before the trip. You discover problems with gear in the field, not on the summit.
Communication Failure Contingencies
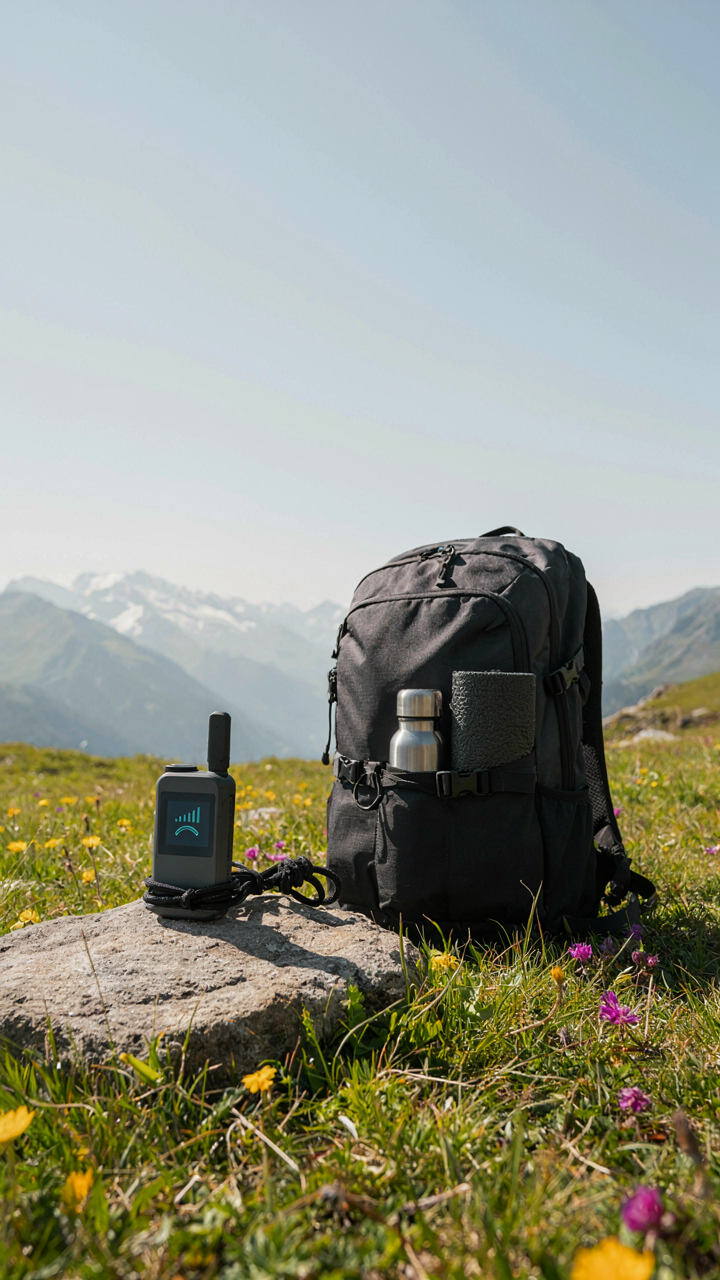
Nobody plans for dead batteries and no signal simultaneously, which is exactly when both happen. The real issue is that modern hikers treat communication as guaranteed, then panic when it isn’t. Build your research around a total communication failure scenario: no phone, no satellite device, no help arriving because nobody knows where you are.
File a detailed trip plan with a trusted contact before you leave. Include your exact trailhead, intended route with waypoints, expected return time, and the specific action they should take if you don’t contact them by a set deadline. That action matters—tell them to call the ranger station or sheriff with your planned route, not to “assume something went wrong.” Give them the non-emergency numbers and the trailhead parking lot address. Communication fails upward through a chain: you communicate with your contact, your contact communicates with rescuers, rescuers know where to search because your research was thorough enough to leave a map.
The Obstacle Isn’t A Lack Of Information; It’s Your Addiction To Certainty In An Uncertain World

You don’t need more hiking research tips. You need to move. Pick a trail you half-know, book it for three weeks out, and research one thing today: the weather forecast. That’s it. Everything else you’ll learn by doing it wrong the first time. Perfection kills more hikes than bad weather ever will. Start moving before your brain finds another excuse to stay comfortable.