
The Minimalist’s Manifesto: Why Less Gear Means More Freedom
More Stuff Creates More Problems
You want to feel prepared. That’s the real driver here. But overpacking doesn’t create security—it creates friction. Think of it like load in physics: every item you add increases the total weight your system must carry, and weight compounds. More gear means more setup time, more breakdown time, more decisions at night, more things to lose, more failure points. The person with fifteen tent stakes doesn’t camp better than the person with eight. They just spend more time organizing stakes.
The gear paradox operates on a simple mechanic: each additional item requires space, attention, and maintenance. When you pack for worst-case scenarios instead of actual conditions, you’re designing for anxiety, not camping. You end up managing inventory instead of managing the campsite. This drain is invisible until you’re three hours into setup because you brought duplicate tools and can’t remember which pack they’re in.
Needs Are Observable, Wants Are Stories
The distinction between needs and wants isn’t philosophical—it’s mechanical. A need solves a specific problem at your actual campsite. A want solves a problem you imagine might happen, or it makes you feel like an expert. Most people collapse this distinction because distinguishing requires testing. You have to camp without something first. You have to be cold one night to know whether you actually need that extra blanket, or whether your sleeping bag already handles it.
The protocol is blunt: bring one item per function. One knife, not three. One light source, not backup headlamps plus lanterns. One way to cook, not a stove and a grill and a fire tripod. Before the trip, list what your campsite actually requires—shelter, sleep insulation, water access, fire if conditions allow. Then list what addresses those requirements. Everything else is insurance you won’t use. Pack accordingly and leave the excess at home.
The “Site Selection Matrix”: Ignoring Instagram For Practicality

Read The Terrain Like Water Reads It
You want the perfect photo spot. That’s the real reason you’re here. The mechanism that kills most trips isn’t bad gear—it’s choosing a site based on how it looks in frame instead of how water and wind actually move through it. Hydrology and meteorology run your camp, not aesthetics. Water flows downhill and collects in low points. Wind funnels through valleys and accelerates around ridges. Sun tracks predictably east to west. These aren’t suggestions. They’re physics.
Start by spending five minutes just watching the terrain before you touch anything. Look for water stains on rocks and bark—they show you where runoff goes during rain. Notice which trees lean or grow asymmetrically; wind has shaped them for months or years. The sun’s angle at your arrival time tells you where shadow will be at dawn and dusk. This data is free and accurate. Most campers skip it entirely because it’s not visible in their mental image of the trip.
Where Dead Trees Actually Matter
The common advice says avoid dead trees. That’s incomplete and backwards. Dead trees kill people when they fall on tents. The real problem is where you place your tent relative to dead trees, combined with how wind moves through your site. One dead branch hanging above your sleeping area isn’t acceptable risk. A dead snag fifty feet upwind in an open area presents almost no danger because wind doesn’t push trees sideways into your tent.
Check the ground surface before driving stakes. If water pools there after rain, your site drains poorly—the soil is clay or the spot sits in a depression. Dig a small hole three inches deep. If water pools in it after thirty seconds, that ground won’t shed rain. Move upslope or to higher ground nearby. Ground drainage kills more trips than any single factor because moisture breeds cold, mold, and misery. The protocol: identify the highest ground in your search area first, then evaluate other factors from that starting point.
Rapid Deployment Protocol: Setting Up Like Your Life Depends On It

The Unloading Sequence That Actually Works
You want to feel like you have control before the sun drops and the temperature follows it. Here’s what nobody says plainly: your setup speed is determined by your unloading order, not your camping skill. Think of this like triage in emergency medicine—you don’t treat everything at once, you prioritize by consequence. The mechanism is simple: items needed last leave the vehicle first. Items needed immediately stay accessible until the end.
Unload in this sequence: tent, sleeping bags, cooking gear, then everything else. Your tent goes down first because it claims your space and prevents decision paralysis later. Sleeping bags and pads come next—they’re your non-negotiable comfort items and take zero setup time. Cooking gear follows because you’ll need it before dark. This order prevents the chaos of digging through piles while light fades. Do not deviate from this sequence. Stick to it every trip, and your hands will execute it on autopilot.
Individual Zone Kits Stop The Search
Pre-pack bags for each functional area of your campsite before you arrive. Most people throw gear in random bags, then spend thirty minutes finding a tent stake or the camping stove. Your real problem isn’t packing—it’s retrieval time in low light. Zone kits eliminate that friction entirely.
Create these kits:
- Shelter Kit: tent, stakes, mallet, ground tarp, guy lines. Everything required to build your sleep space stays in one bag.
- Sleep Kit: sleeping bag, sleeping pad, pillow, camp blanket. Consolidate comfort items so you grab one bag, not four.
- Fire Kit: lighter, kindling, matches, fire starter, fuel. Keep ignition tools together where they won’t get lost in the dark.
- Kitchen Kit: camp stove, fuel canister, cooking utensils, first aid supplies. Separating cooking from eating prevents constant bag hunting.
- Utility Kit: flashlight, batteries, rope, knife, multi-tool, repair tape. This bag solves problems you don’t anticipate until they happen.
Label these bags with printed tape or permanent marker—not mental notes. When you arrive at camp, hand each bag to its zone. Your shelter goes to the tent spot. Your sleep kit goes inside the tent. Your kitchen kit goes to the cooking area. This removes decision-making from the setup phase. You execute, not think. Your setup time drops by forty percent because you’re not retracing steps or calling out “where’s the stove fuel?” to your group.
Weatherproofing Your Sanity: The Unseen Campsite Setup Ideas
Layering Your Defenses Against The Elements
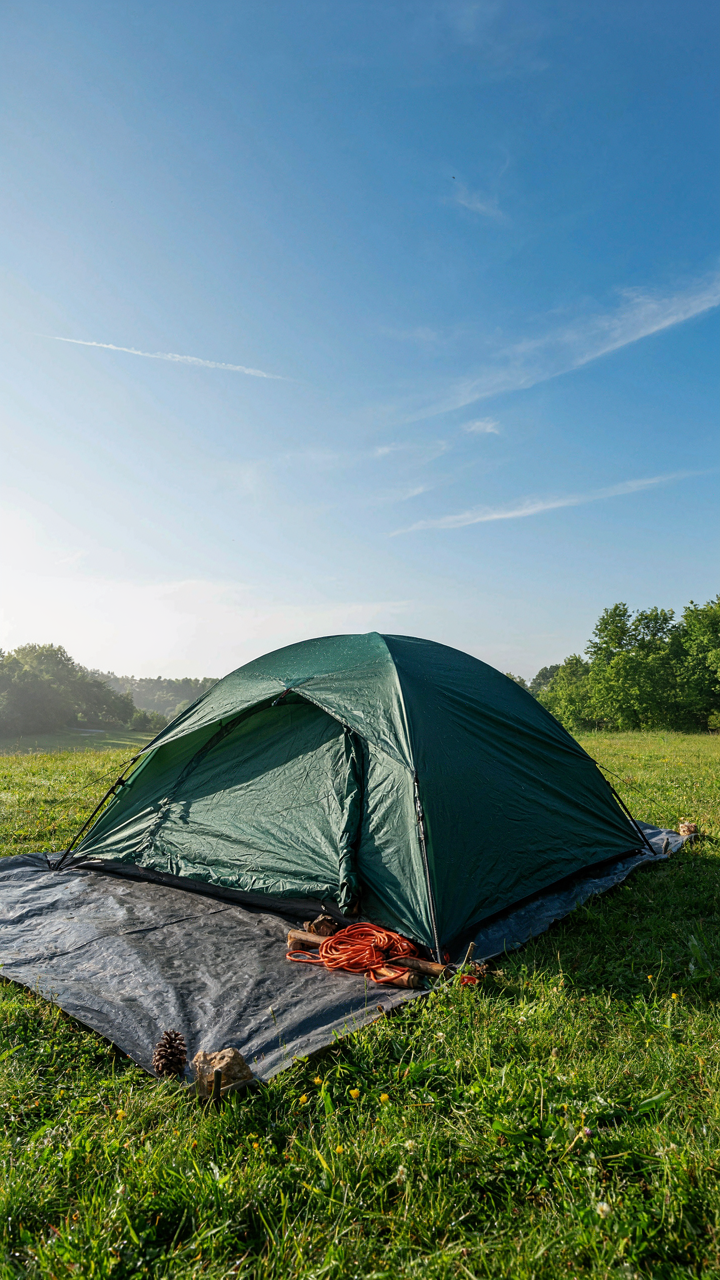
You’re worried about looking unprepared, about getting rained on, about losing control. That’s the real fear. Military strategy calls this defense in depth: you don’t rely on one barrier. You stack redundant systems so failure at one level doesn’t cascade into disaster. Your campsite works the same way. The tent is your first line. The rain fly is your second. Your site selection is your third. The ground tarp is your fourth. Each layer stops something different, and each assumes the others might fail.
Most people set up a tent and call it done. They miss that layering means positioning. Place your tent on a slight rise or slope to shed water naturally. Position the rain fly so wind can’t catch its edges. Set the ground tarp so it pulls water away from the tent base, not toward it. Stake everything so tension distributes evenly and one gust doesn’t compromise the whole structure. The mechanism is redundancy through positioning, not just through equipment.
Reading The Weather Before It Arrives
Temperature drops happen fast because air mass changes don’t announce themselves politely. You spot sudden storms the same way: the sky changes, not the forecast. Most campsite advice ignores this because it’s not about gear, it’s about observation. Your setup changes based on what you see, not what you packed. If clouds roll in fast from the west and the air gets colder, you’re not in a safe spot anymore. You know this already. Act on it before the weather does.
Sudden storms kill prepared campers because they ignored early signals. Set up your site so you can move your tent fast if conditions shift. Know your escape routes and higher ground before you need them. Keep your sleeping bag packed with a dry tarp nearby, not scattered across your site. Test your stakes and guy lines in calm weather so you know they hold when wind hits. The protocol is simple: observe changes, execute moves before the pressure hits, not after.
The “Optimal Sleep System”: Defying The Glamour Camping Set Ups

Ground Insulation: Barrier Against Heat Loss
You want to look like you have your life together, so you buy an expensive sleeping bag and assume that’s the system. It’s not. Thermodynamics doesn’t care about your gear budget. Heat loss occurs in layers, and the ground acts as a heat sink. A sleeping pad isn’t luxury—it’s the primary insulator between your body and earth that actively pulls warmth away. Without it, your sleeping bag loses 50% of its insulating capacity.
The pad sits between you and the ground, breaking the conductive pathway that transfers your body heat to the cold earth. Most people underestimate ground contact. A thin foam pad works; an inflatable pad works better because trapped air resists heat transfer more effectively than foam alone. Measure your pad’s R-value, not just its thickness. R-value quantifies thermal resistance—higher values mean better insulation. Match your pad’s R-value to your environment’s ground temperature, not the air temperature.
Sleeping Bag Rating: Matching Insulation To Environment
Sleeping bag temperature ratings are marketing lies dressed up as science. Manufacturers base ratings on a standard test that assumes you’re wearing base layers, wearing a hat, and lying perfectly still. You won’t do those things. Temperature ratings tell you the lowest temperature at which an average sleeper stays alive—not comfortable. This distinction kills trips.
Pick a bag rated 10 to 15 degrees colder than your expected low. If the forecast says 40 degrees, choose a bag rated 25 to 30 degrees. A bag’s insulation loses effectiveness when compressed, so pair it with a quality pad to prevent that compression. Down insulation recovers loft after compression; synthetic doesn’t. If you camp in wet conditions, synthetic beats down every time because wet down fails. Dry conditions favor down for weight and packability.
Fire & Food: The Primitive Campsite Setup Ideas Campsite

Why Your Fire Dies And How To Fix It
You want the campfire to feel effortless because effort feels like failure. The mechanism at work here is combustion, borrowed directly from physics: you need three things simultaneously—fuel, oxygen, and heat. Most people bring wood and matches. They’re missing the actual system. Without understanding what each element does, you’re just hoping, not building.
Heat initiates the chemical reaction. Oxygen feeds it. Fuel sustains it. Start with tinder—dry grass, bark, or paper that ignites from a spark or flame. Stack kindling around it in a loose formation that allows airflow. Then add progressively thicker branches. The common mistake is packing materials too tight, suffocating the oxygen supply before heat builds. Space matters more than quantity. Once your kindling catches, add larger logs on top of the established heat source.
Store Food Or Lose It To Wildlife
Animal-proofing isn’t sentimental. It’s waste prevention and safety management. Bears, raccoons, and smaller scavengers don’t distinguish between your dinner and an invitation. The standard advice to “hang your food” works only if you execute it properly—high enough, far enough from your campsite, and sealed in a bear bag or bear canister that prevents smell leakage.
If hanging isn’t viable, use a bear canister. It’s a hard-sided container that animals cannot pry open or pierce. Bury food waste or pack it out completely. Never leave scraps or cooking residue at your campsite. The moment wildlife associates your location with food, they return. Distance your cooking area from where you sleep by at least 100 feet. This single protocol shift prevents property damage, injury, and the death of animals that then require removal.
Hygiene In The Wild: More Than Just Wipes For Best Camping Set Up
Your Waste Doesn’t Disappear
You’re worried about looking like the person who leaves trash everywhere. Here’s what nobody tells you: the mechanism is bacterial load and decomposition time. Human waste takes years to break down in cold soil, months in warm conditions. Distance matters because water sources feed downstream campers and wildlife. The Leave No Trace principle isn’t environmental theater—it’s preventing cholera, giardia, and dysentery from moving through the watershed. Camp at least 200 feet from any water source, and dig catholes at least six inches deep in soil, not rock or clay where decomposition stalls.
Solid waste burns or packs out. Food scraps attract bears and raccoons, which then associate humans with meals and become hazards for future campers. Grey water from cooking goes 200 feet away too. The rule stops being abstract once you understand that every shortcut creates a contamination zone someone else will camp in next week. Bury human waste properly, pack out garbage completely, and scatter used dishwater far from camp and water sources.
The Biology Behind Bad Water
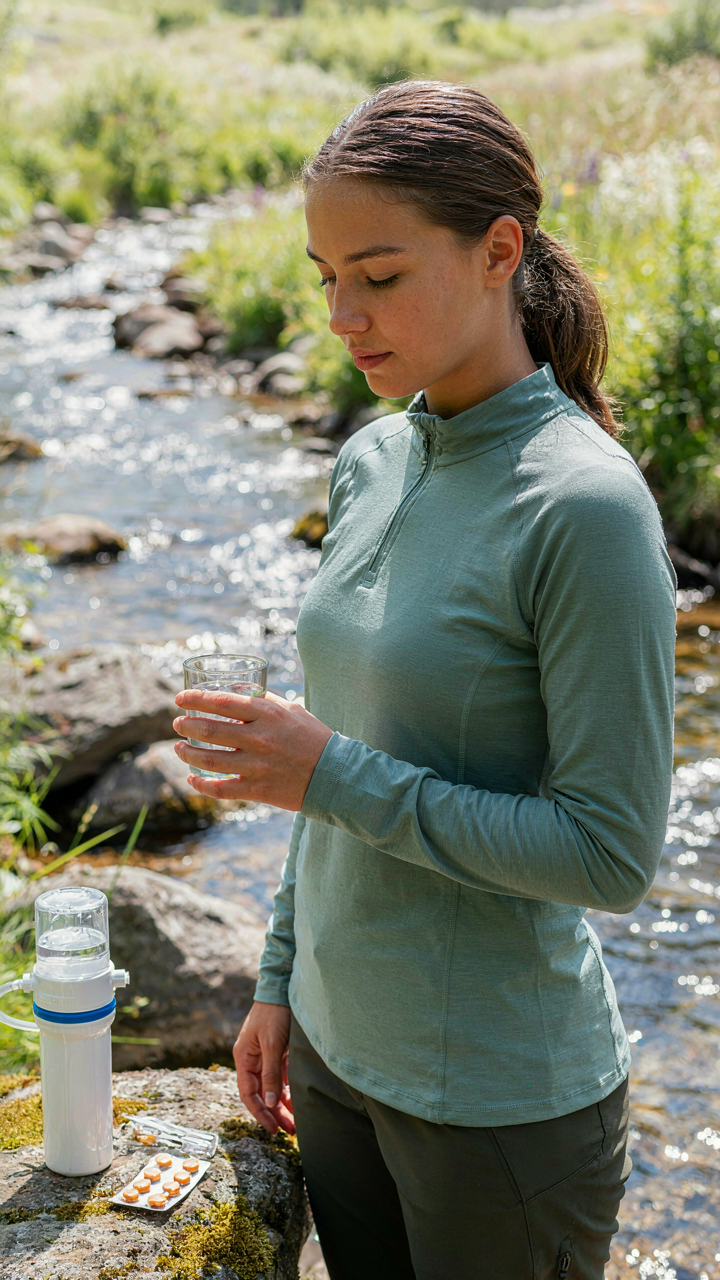
Water purification is applied microbiology, and the mechanism is pathogen density. Boiling kills bacteria and viruses through heat shock, but doesn’t remove chemical contaminants or some parasites. Filtration removes particles and protozoa but misses viruses in remote areas. Most common advice skips the real risk: giardia cysts survive 30 minutes of boiling. You need dual method systems in backcountry water. Boil for one minute at sea level, three minutes above 6,500 feet, then filter through 0.1-micron pores, or use chemical treatment like iodine tablets followed by filtration.
Chemical tablets work slowly—iodine needs 30 minutes in cold water, several hours if it’s near freezing. Combine methods strategically: filter first to reduce sediment, then boil or chemically treat. The goal is redundancy, not perfection. Your water purification setup needs two working methods so if one fails mid-trip, you still drink safely. Test your system at home before camp so you’re not learning filtration logistics when you’re dehydrated.
The “Adaptive Lighting Protocol”: Beyond The Headlamp
Where You Place Light Matters More Than How Bright It Is
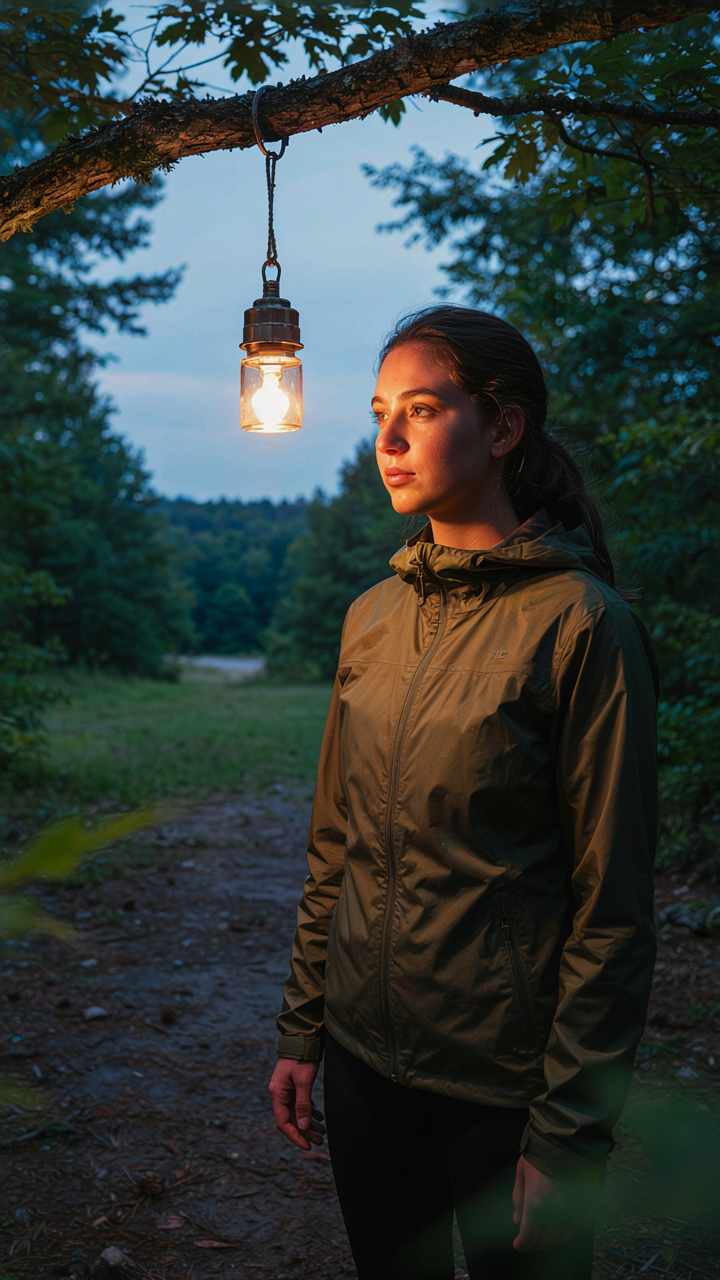
You want to look competent around the fire, and that’s the real reason you’re reading this. The mechanism is borrowed from stage lighting design: the inverse square law states that light intensity drops proportionally to the square of distance from source. In camping, this means a lantern positioned at ground level five feet from your setup area produces radically different shadows and usability than the same lantern hung at eye level. Wrong placement wastes lumens and creates dead zones where you actually need visibility.
Position your primary light source at or slightly above head height when seated. This eliminates harsh ground shadows that obscure your immediate work area and kills the annoying glare that bounces back into your eyes from a reflective tent surface. A headlamp mounted on your person works for mobile tasks, but it becomes a liability for stationary camp work because you’re constantly casting shadows across your own work zone. Distribute secondary light sources around camp perimeter at ground level to define the space without creating a blinding center core.
Battery Life Requires Honest Accounting Before Dark
The common advice about bringing extra batteries is incomplete because it doesn’t address the actual drain curve of your devices. Power management in electronics terms means matching load to capacity over time, and most campers underestimate how aggressively modern headlamps and lanterns drain cells under continuous use. A 500-lumen headlamp on high setting won’t last the stated runtime if you’re running it for three hours straight every evening.
Calculate your nightly lighting needs by device, duration, and brightness setting, then multiply by your trip length. Bring batteries rated for the actual lumen output you’ll use, not the manufacturer’s best-case runtime. Rechargeable options with a compact solar panel only work if you have clear daylight hours and start with a full charge. If you’re camping in overcast conditions or short-day seasons, stick with proven alkaline or lithium batteries you can swap in darkness without debugging a charging protocol.
Tear Down Efficiency: The Unsung Hero Of A Smooth Trip
Reverse Setup: Systematic Packing For Next Time
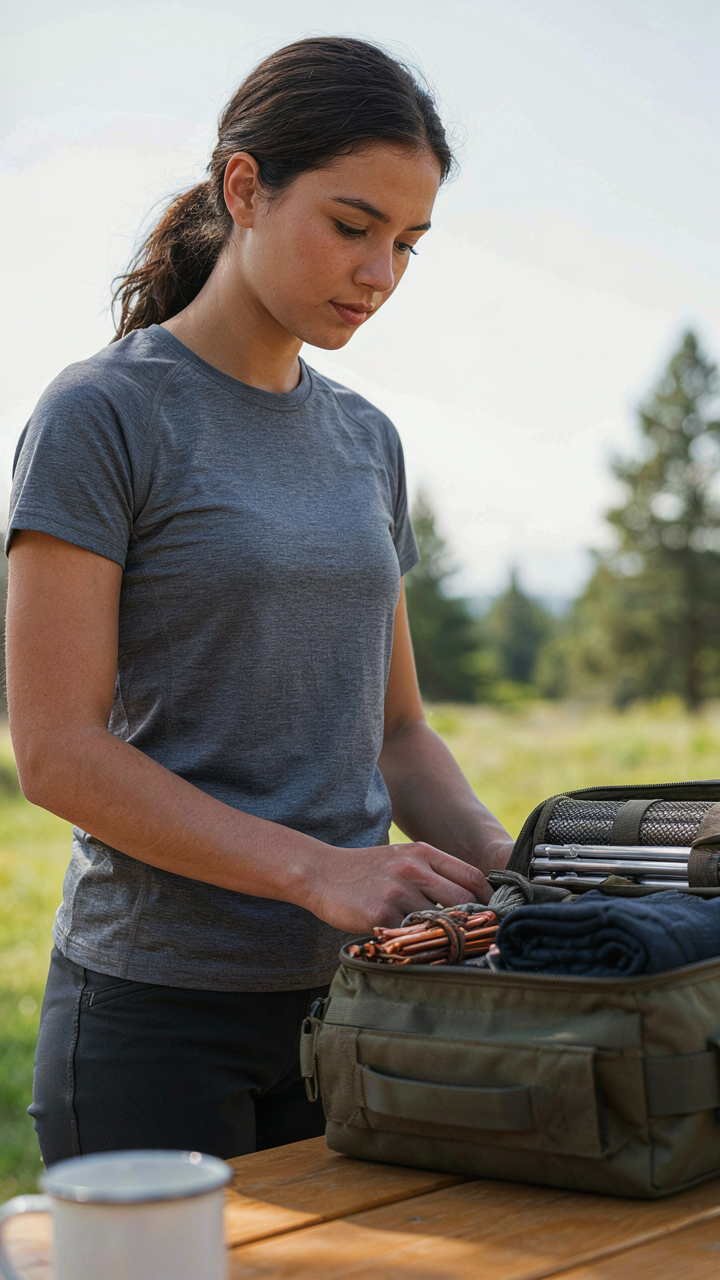
You’re hoping tear down proves you’re organized and detail-oriented. The real mechanism is this: how you pack leaving camp directly determines how fast you set up next time. Most people break camp like they’re fleeing. They stuff gear into bags without order, then spend the first hour of the next trip excavating.
The setup you’ll use next time lives in how you pack this one. When you disassemble camp, pack in reverse order of how you built it. Tent poles go into the same compartment, always. Stakes bundle together. Ground cloths roll the same way each trip. This isn’t about perfection. It’s about reducing decision friction when you’re tired and cold at the next site.
Maintenance Mindset: Cleaning And Inspecting Gear
Most advice says clean your gear after every trip. That’s incomplete. The real mechanism comes from preventive maintenance: inspect for failure before it happens, not after.
While breaking camp, check for damage you’ll face next time. Look at tent seams where water pools. Examine stake bends or zippers that stick. A rip you patch now costs five minutes. A rip discovered during rain costs your entire trip. Dry rot on a tent floor, corrosion on a stove valve, fraying guy line material—these reveal themselves during tear down when you’re handling everything. Don’t pack a problem. Fix it at the source.
Mastering The Unpredictable: True Skill For Camping For Beginners

When Things Break, You Don’t
You want this section because you’re afraid of looking incompetent when reality doesn’t match the plan. The actual mechanism is simple: improvisation isn’t creativity, it’s pattern recognition built on constraints. In camping, you work inside hard physical limits. Rain falls regardless of forecast. Gear fails. Ground slopes wrong. Your brain either recognizes what you have and adapts it, or it freezes. The difference between a smooth trip and a disaster is someone who spent five minutes thinking through what breaks and what replaces it.
Most campsite setup advice assumes everything arrives pristine and goes exactly where the diagram shows. That’s not how it works. You need a mental inventory of what can do double duty. Your tarp works as ground cover, wind block, or rain solution depending on what fails. Paracord serves as stake reinforcement, line repair, or equipment hang. Knowing this before you’re wet and frustrated means you adjust in thirty seconds, not thirty minutes. Write down three backup uses for each major item before you leave home. That’s the only prep that matters.
Reading Danger Before It Arrives
Risk assessment comes from military strategy: the principle of “terrain and situation.” You read the ground itself before choosing where to camp. Look at water flow patterns. Rain doesn’t fall straight down. It channels along slopes. A flat-looking site becomes a streambed in a downpour because the slope is subtle but consistent. Walk the perimeter. Feel the grade under your feet. Identify dead trees or branches overhead that could drop. Check for animal trails converging on your spot, which means predators and prey use this path regularly.
Your setup decisions stem directly from these observations, not from comfort preference. If you see water flow risk, your tent goes upslope from it, period. If dead branches hang overhead, you move ten feet. If animal trails run through, you either relocate or accept the encounter probability. The mechanism is this: you don’t mitigate hazards by hoping they don’t happen. You mitigate them by predicting where they occur, then placing your camp outside that zone entirely. Check the site at dusk when shadows reveal grade changes your eyes miss in daylight.
Your Biggest Obstacle Isn’t The Wilderness; It’s Your Attachment To Unnecessary Complexity
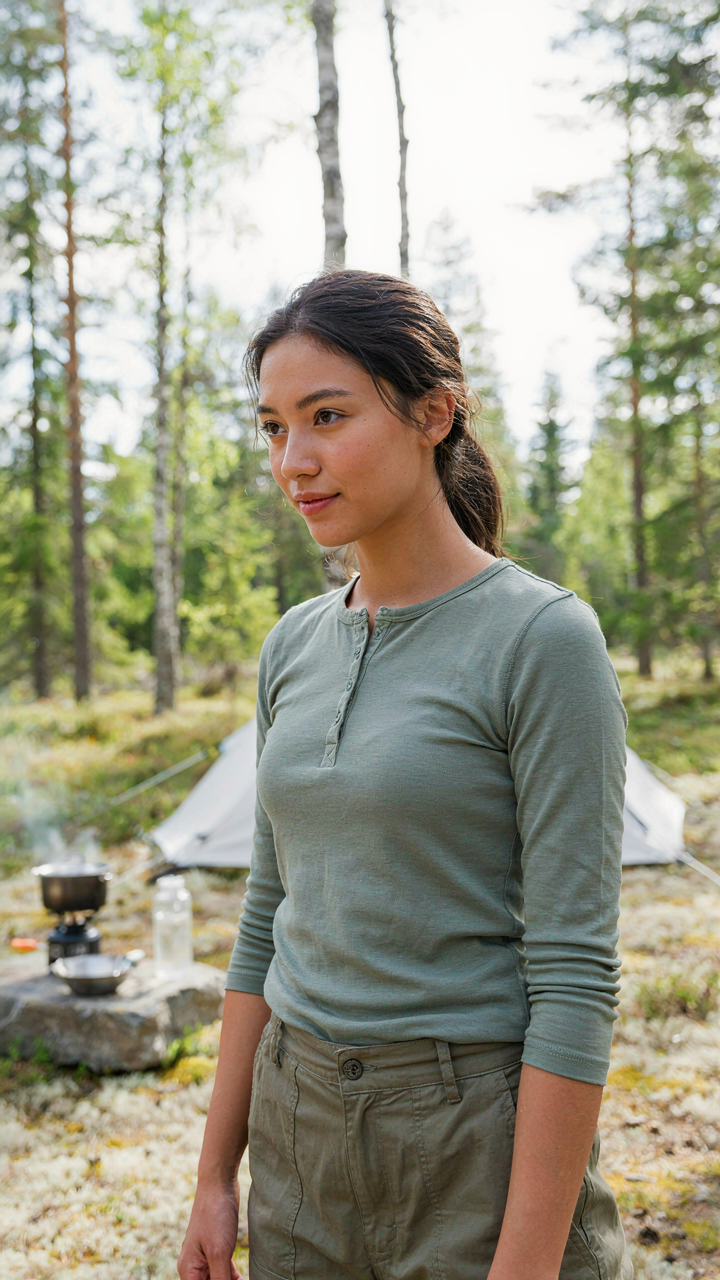
Most people fail at campsite setup because they treat it like a puzzle. They overthink gear placement, obsess over minor details, and freeze when conditions don’t match their mental picture. Here’s what actually works: pick a flat spot, set up your shelter, establish water access, and stop. Your brain craves permission to keep things simple. Right now, pick one camping trip this season and commit to a setup routine that takes under thirty minutes. Complexity doesn’t make you a better camper, it makes you tired before the adventure starts.