
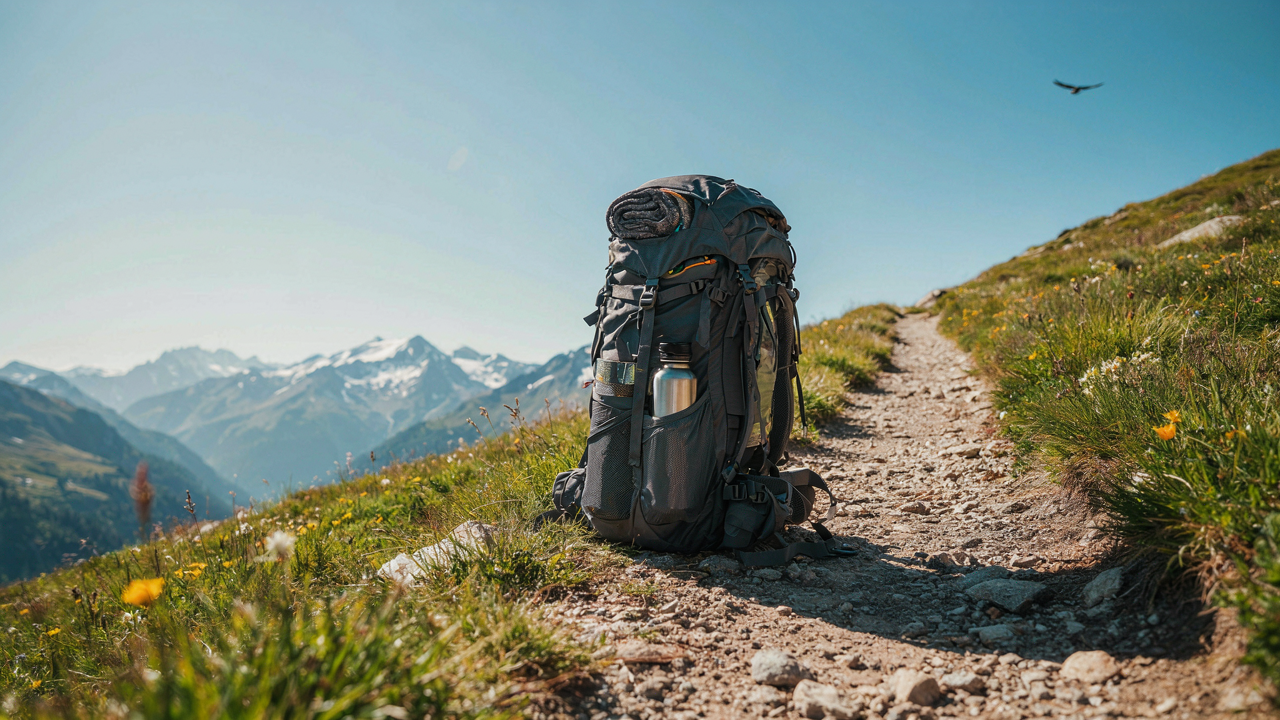
The Cognitive Load Protocol: Minimize Decision Fatigue
Pack The Same Way Every Time
You want to feel organized on the trail because disorganization means you might miss something critical—and that costs you time, safety, or comfort. The real mechanism here borrows from cognitive psychology: decision fatigue is the degradation of judgment quality after making repeated choices. Every time you search for your water filter or debate where to place your sleeping bag, you burn mental energy you need for actual hiking. Stop making the same decision twice.
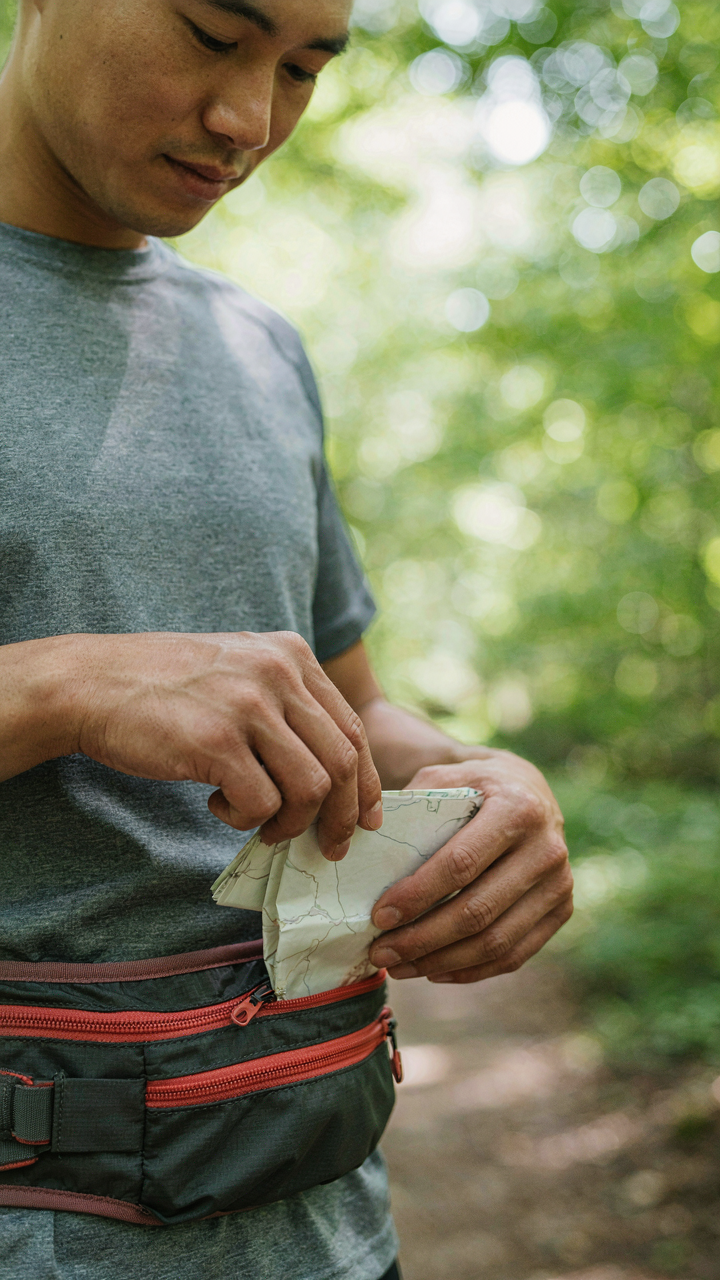
Build one proven configuration for your most common trip type—a weekend three-season hike, for example. Assign each gear category to a specific pocket or compartment. Main compartment holds sleep system. Hip belt pockets hold snacks and navigation. Side pockets hold water bottles. Front pocket holds first aid and repair kit. Run this exact setup on five consecutive trips without modification. Your hands will find gear without conscious thought. This is the goal.
Eliminate The Backup Gear Trap
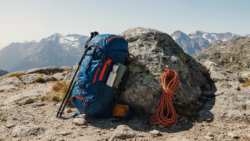
Most hikers carry redundant items under the guise of preparedness, but this is actually decision paralysis wearing a safety costume. You own two headlamps, three knives, four different rain layers—and now you waste mental cycles deciding which one to grab. This doesn’t make you safer; it makes you slower and heavier.
Commit to single-item solutions for each function. One knife. One headlamp. One rain jacket. One first aid kit. If that item fails mid-trip, you learn exactly what failed and why. You upgrade or replace it for the next trip. This rapid feedback loop builds actual competence faster than carrying backups. Your decision space shrinks. Your pack weight drops. Your mind stays clear when it matters.

Beyond Gear: The “Bushcraft Camping” Mental Model

One Tool That Does Three Things
You want to feel prepared without carrying dead weight. That’s the real motive here, and the mechanism that solves it comes from systems thinking in industrial design: constraint breeds function. When you force a single object to solve multiple problems, you eliminate the slack that turns a backpack into a storage locker.
Most hikers pack redundancy by accident. A knife, a spork, a carabiner, a rope. Each solves one problem cleanly. But a well-chosen multi-use tool forces trade-offs that make your pack lighter and your decisions sharper. A quality fixed-blade knife becomes your food prep, fire starter sharpener, shelter stake, and first aid tool. A bandana works as a pot holder, sun barrier, water filter prefilter, and pack organizer. These aren’t compromises. They’re compression.
Scavenge What The Land Provides
The assumption that your backpack must contain everything is backwards. Bushcraft pioneers didn’t invent new gear for every task. They adapted what existed around them. Dead branches become tent stakes. Flat rocks become pot stands. River stones sharpen blades. Bark becomes cordage.
This isn’t romantic nonsense. It’s weight reduction with a hard constraint: you can only carry what fits. Before you add another item to your pack, ask whether the landscape you’re entering already stocks it. Pine bark, sand for scrubbing, large leaves for water catching, fallen wood for fire frames. Your pack carries the multipliers. The land carries the bulk.
The Antifragile Pack: Organizing For Unknowns
Redundancy In Critical Systems Only
You want to feel prepared without carrying dead weight, and that tension is exactly why most hikers pack wrong. Redundancy comes from a principle in systems engineering: a system becomes antifragile when critical nodes have backup capacity, but only the critical nodes. Your shelter fails and you’re hypothermic. Your navigation fails and you’re lost for hours. Your water treatment fails and you’re sick. Everything else can fail and you adapt.
The mistake is treating every item as equally critical. You don’t need two sleeping bags or two backpacks. You need two fire sources, two navigation methods, and two water treatment options. A lighter and matches. A map and compass plus a GPS unit if you carry one. A filter and purification tablets. This reduces pack weight while actually increasing survival margins where it matters.
Accessible Emergency Essentials
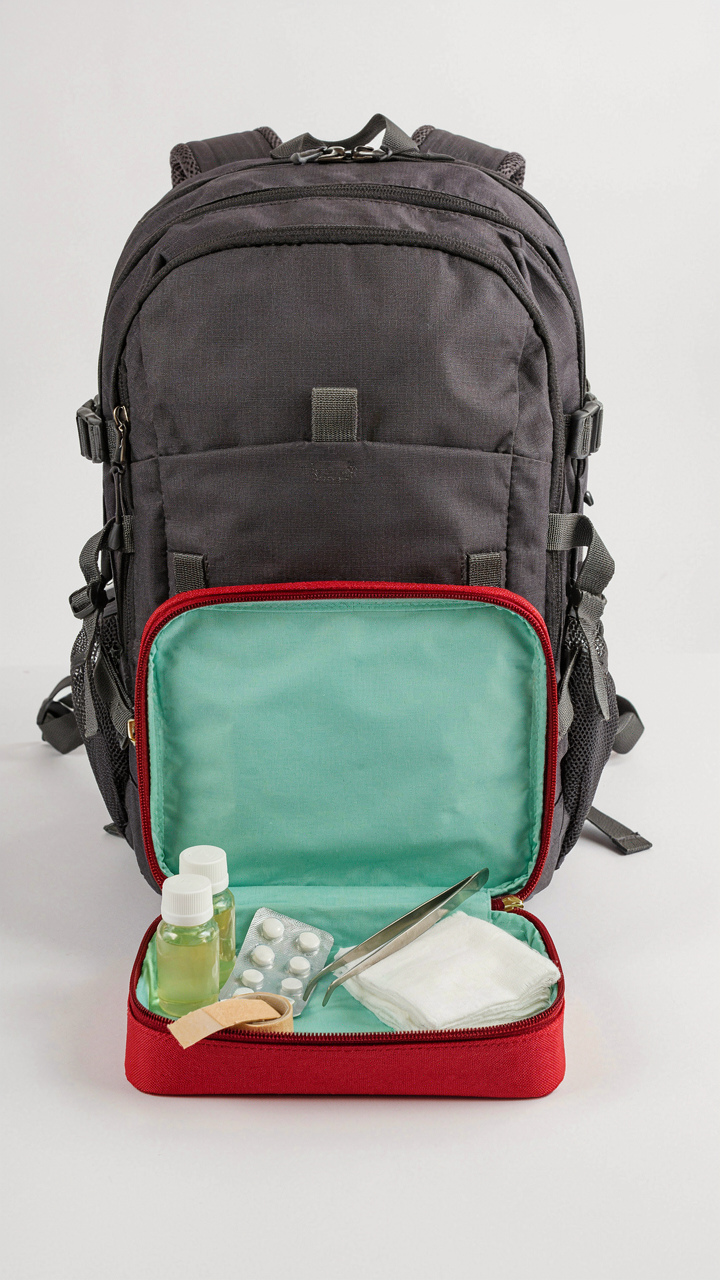
Most people bury their first aid kit at pack bottom, which defeats its purpose. Speed matters when blood is flowing or a blister is forming mid-day. First aid, fire sources, and navigation tools belong in external pockets or the top compartment where you access them in under five seconds without unpacking your entire gear load.
Your emergency essentials pocket should follow a simple rule: if something stops a hike immediately, it goes there. Severe blister kit, pain relief, blister treatment, antihistamines for allergic reactions, and tweezers for splinters. Keep a small fire source on your hip belt or chest where wet hands can grab it. Map and compass in the lid pocket. Organize by access speed, not by category. The faster you treat a problem, the faster you resume movement.
The Survival Skills Life Hacks Hierarchy Of Needs
The Top Pocket Rule
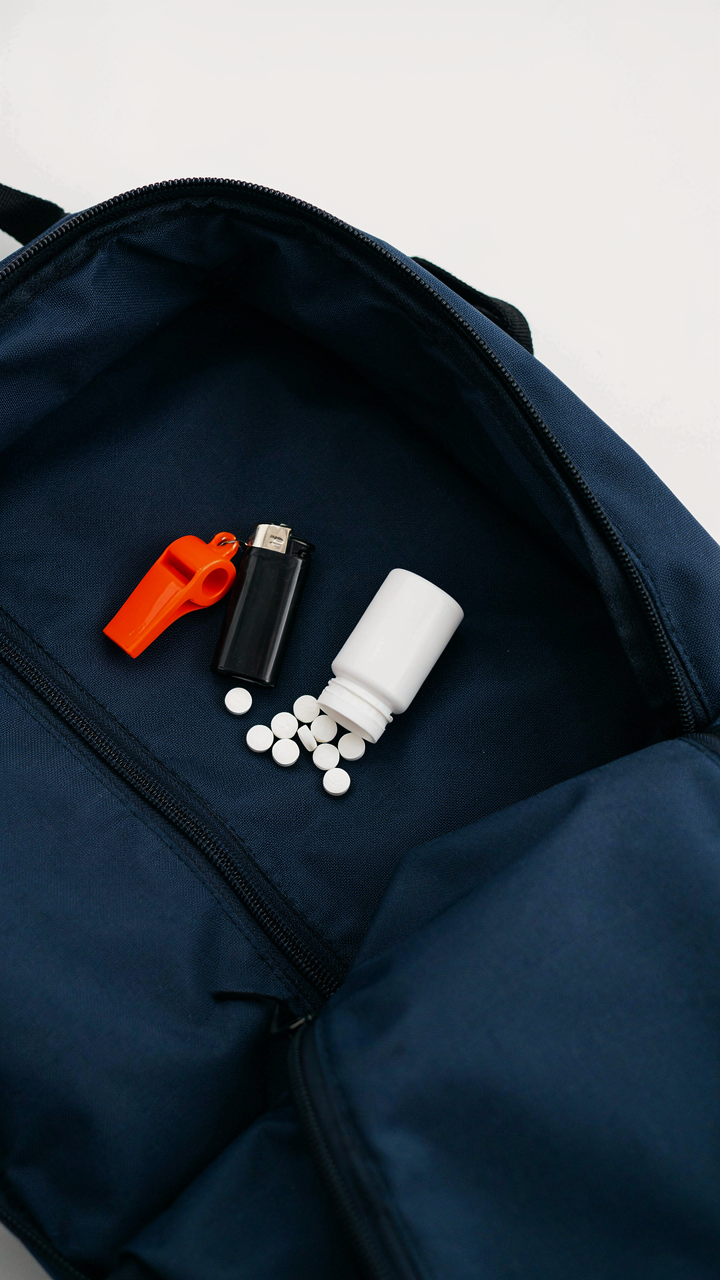
You want to feel prepared without actually thinking through what prepared means. Here’s the mechanism: your brain treats visibility as safety. Military field medicine borrowed the triage concept—categorizing casualties by urgency. Apply the same logic to your pack. Top-pocket access is triage for threats that demand reaction time measured in seconds, not minutes. A whistle, lighter, or tourniquet doesn’t belong buried under a sleeping bag.
The top pocket becomes your decision layer. Everything there answers one question: does this stop me from dying in the next sixty seconds? Knife, emergency signal device, pain medication if you’re prone to field injuries. Nothing else. This pocket stays accessible during the hike, not at camp. You never dig for it; you reach instinctively.
The Rotation Strategy
Most people organize by gear category. That’s lazy. What matters is access velocity across changing conditions. A water bottle moves from “buried in the middle” to “side pocket” as the hike progresses and dehydration risk rises. Your pack architecture should shift with threat profile, not stay static.
Organize your pack by temporal need, not alphabetically. Items for the first two hours go accessible. Snacks for mile seven go deeper. Repair tools and the full first aid kit occupy mid-pack. This isn’t reorganizing every fifteen minutes—it’s loading the pack strategically before departure, based on actual trail conditions and your fitness level. The protocol: assess terrain, forecast conditions, then load accordingly.
Packing A Hiking Backpack: The “Just In Time” Inventory
Carry Only What The Next Leg Demands
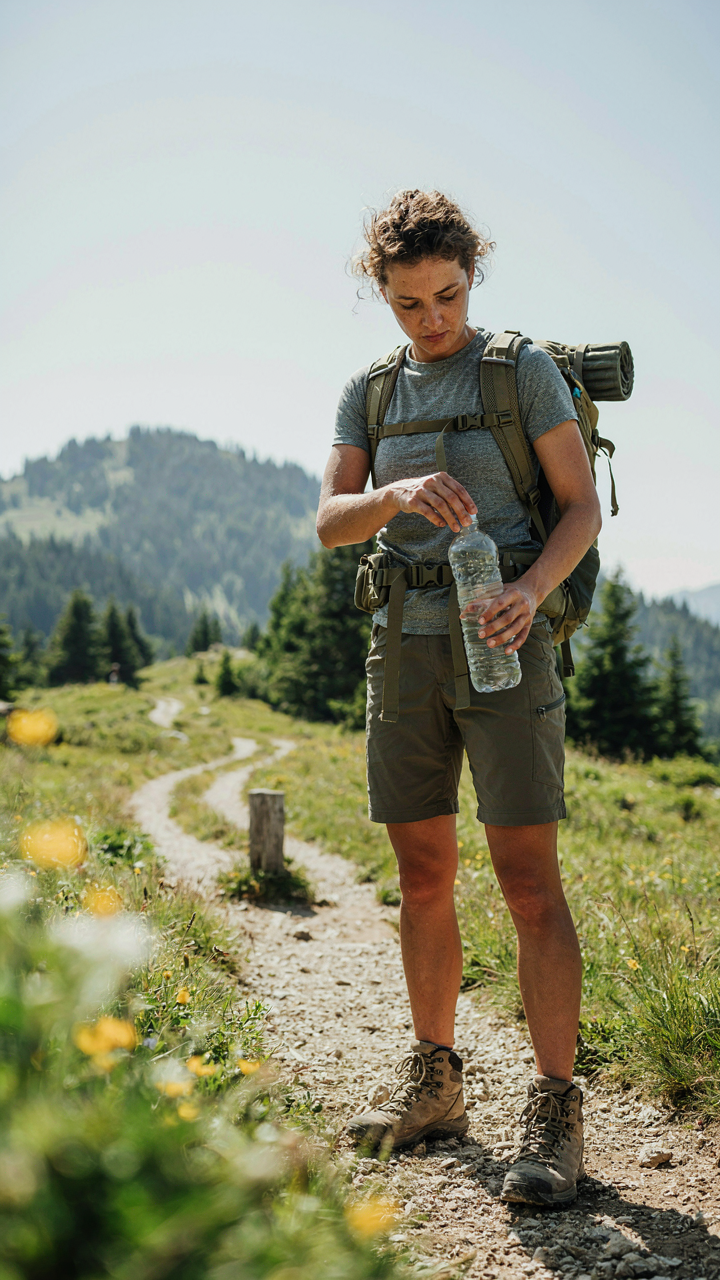
You want to feel prepared without admitting you’re afraid of being caught without something. That fear drives you to pack redundancy. The real mechanism is inventory rotation: extract items at trailheads or camp, use them for that segment only, then remove them. This isn’t about traveling light for aesthetic reasons. It’s about matching your load to the actual demands of the terrain ahead.
Most hikers pack for hypothetical scenarios that never materialize. Rain gear sits unused for three days while your shoulders absorb the weight. Instead, plan your hike in segments. A water crossing at mile eight means you stage water shoes at mile six. You don’t carry them from the parking lot. This requires route familiarity and honest assessment of weather windows. Check your forecast per segment, not for the entire trip. Pack accordingly for each leg only.
Remove Weight Before It Becomes Burden
The common advice is vague: bring only essentials. That’s lazy. You need a protocol. This borrows from lean manufacturing: eliminate waste before the process begins, not during it. Audit every item with one question: does this leg require this now? If the answer is no, it stays home or stays in a cache.
Duplicate items expose the real problem. Two lighters, three energy bars when you need one, backup clothes for scenarios you won’t face. Weigh your pack at each resupply point and cross-reference against the remaining mileage. If you’re carrying eight pounds of water at a trailhead but reaching a reliable stream in two miles, dump it. The protocol is simple: measure the load, measure the segment, subtract everything that doesn’t fit.
The Backpacking Gear Systems Thinking Approach
Every Piece Affects Every Other Piece
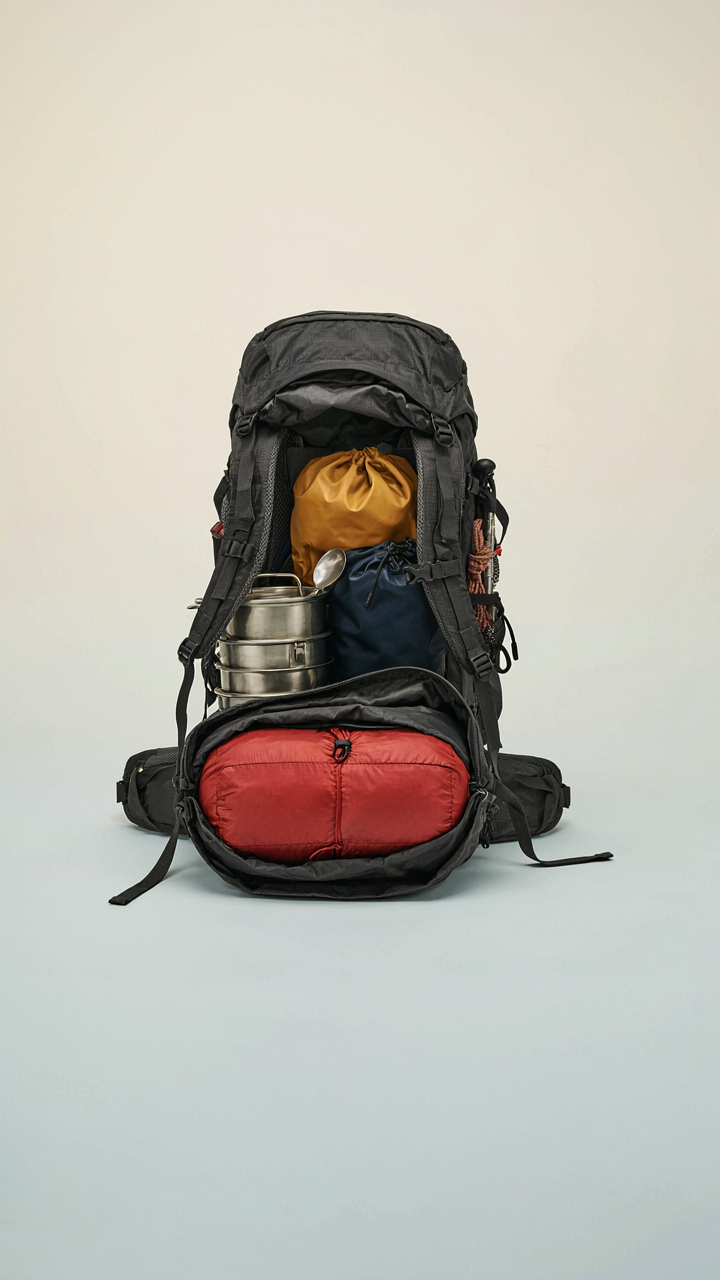
You want to feel organized because disorganization signals incompetence to yourself and others. The real mechanism is this: backpack organization works like a supply chain. Move one item’s position and you’ve altered weight distribution, access speed, and how other gear compresses. Most hikers treat each pocket as independent real estate. That’s wrong. Every compartment decision cascades through the entire system.
Your heavy items anchor the load. Your frequent-access items determine which compartments stay functional. Your weather gear needs proximity to the exit without stealing space from food. These aren’t separate problems. They’re nodes in a network where changing one input forces recalibration elsewhere. Ignore the interconnection and you waste movement, burn calories on poor weight balance, and create dead zones where good gear goes unused because it’s buried behind something else.
The Path From Top To Bottom
Most advice says “put heavy stuff low.” Incomplete. Systems thinking from logistics shows us flow state: the sequence items move through during a hike. Your pack isn’t storage. It’s a circulation system. Heaviest items sit on your spine at mid-back height, not the bottom. Insulation and rain layers stay accessible but not in the main compartment where you’d disrupt the load structure. Camp shoes occupy dead space near the pack’s edge, not eating prime real estate. Snacks go where you can grab them without removing the pack. This isn’t organization. It’s choreography.
The protocol is this: map your actual hiking day first. When do you need each item? Order your pack around that timeline, not around pocket size. Place items you’ll access in the first two hours in external pockets or top compartments. Mid-hike items go in the main body where you don’t disturb foundation weight. Camp gear stays compressed at the bottom, packed in stuff sacks to minimize shifting. Execute this sequence and your pack becomes predictable. Your body knows where to reach. Your efficiency compounds.
Hiking Bag Packing: The “Military Efficiency” Blueprint
Combat Load Versus March Order
You want to feel organized because disorganization signals incompetence, and incompetence on a trail costs time or safety. The real mechanism here comes from military logistics: the distinction between combat load and march order. Combat load is what you access in the next two hours. March order is everything else. Most hikers pack one blob and wonder why they dig through ten pounds of gear to find their rain jacket.
Combat load lives in your hip belt pockets and top lid. Water bottle, snacks, map, first aid, rain shell, sunscreen. These items stay within arm’s reach for the first half of your hike, when your energy is high and decisions happen fast. March order fills the main compartment in a specific sequence: sleeping bag at the very bottom, then heavier items like water and cooking gear toward your back, lighter items like clothes forward. This stacking protects your center of gravity and prevents the backpack from rotating on your hips.
Quick Access Without Backpack Removal
Stopping to remove your backpack to grab something kills momentum and burns mental energy. The placement rule: anything used more than twice per hour goes in external pockets or the top lid. Anything used once per hour goes in the upper third of the main compartment. Anything used once per day or less goes at the bottom. This isn’t theory. It’s time accounting. You extract your camera three times a morning. You extract your tent once at dusk.
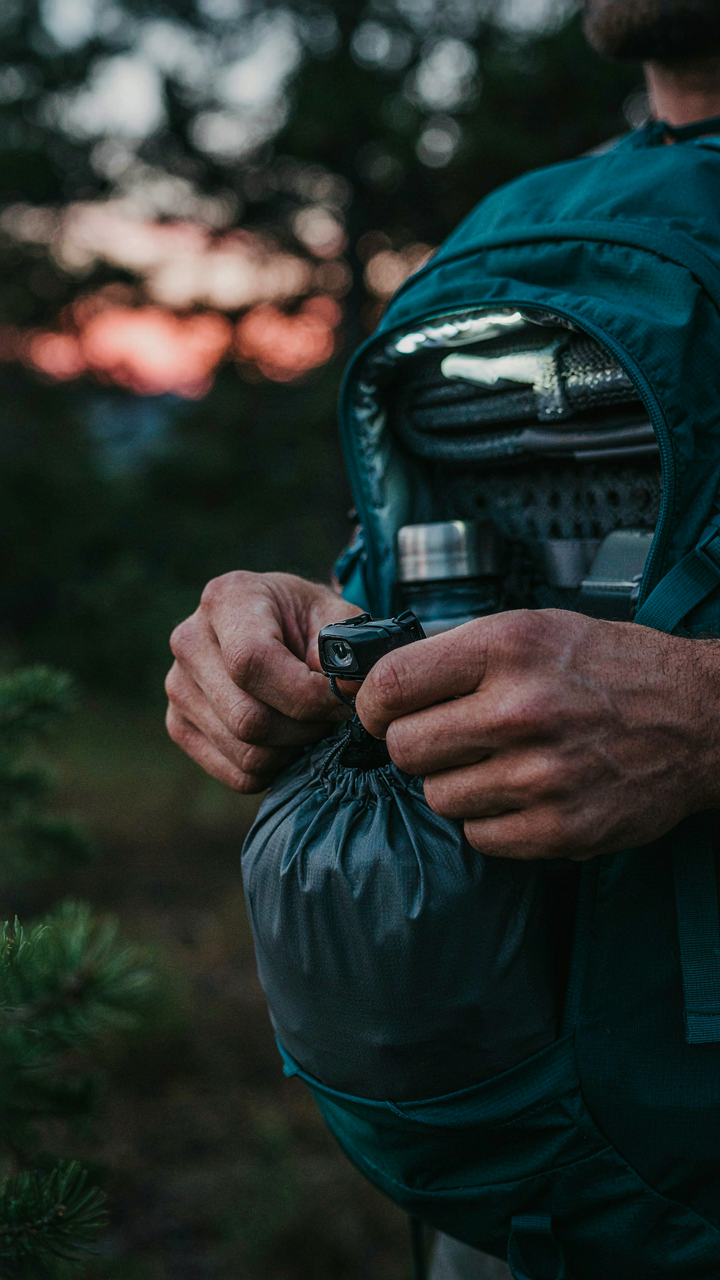
Side pockets belong to water and snacks only. Front pockets stay for maps and navigation tools. The pack’s back panel sometimes has a small zippered pocket perfect for sunscreen or lip balm. Internal organization uses compression stuff sacks, not loose clothing. Sacks compress wasted air and let you locate items by feel in low light. When you need your headlamp at dusk, you grab the sack you packed it in and know what you’re holding before you open it.
How To Pack A Hiking Backpack: The “Physics Of Leverage” System
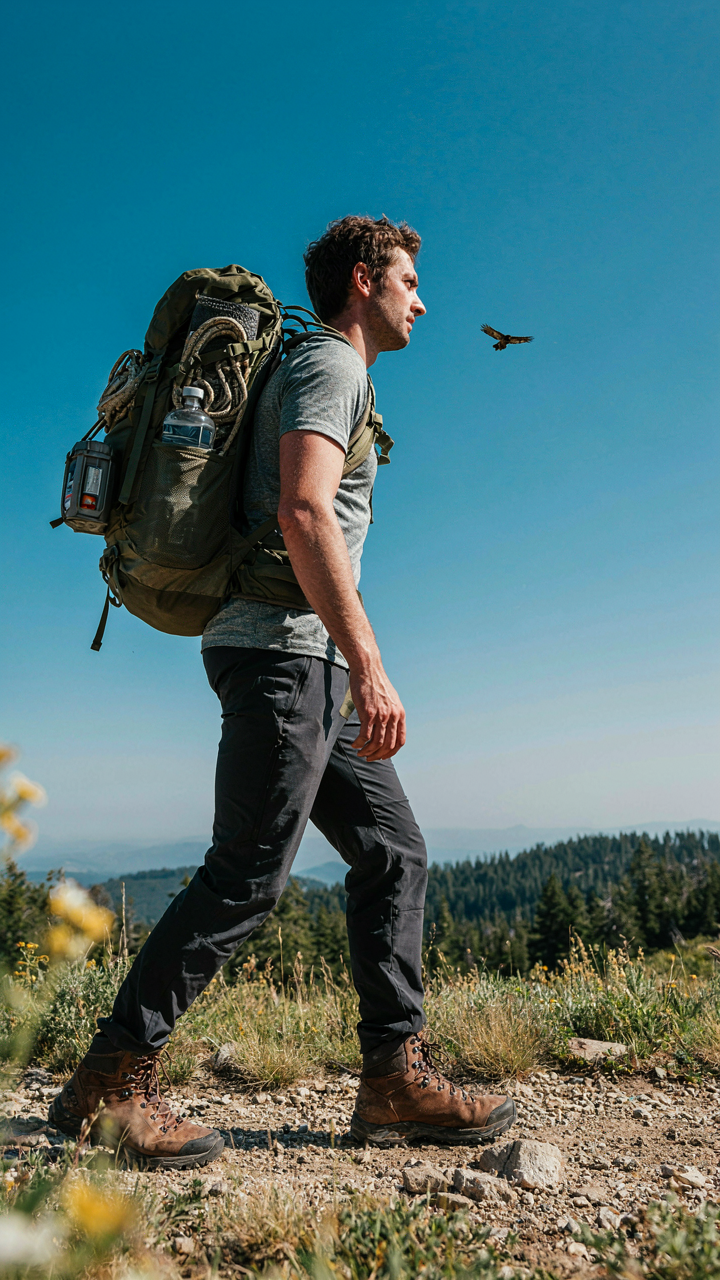
Keep Weight Close To Your Spine
You want to believe good packing is about having a system. It’s not. It’s about avoiding the creeping back pain that turns a ten-mile day into regret. Physics calls this the principle of leverage: the farther a load sits from your axis of rotation, the more force your muscles burn to stabilize it. Your spine is that axis. Every inch a item drifts away from your back multiplies the strain on your posterior chain exponentially, not linearly.
Pack heavy items—water, food, sleep system—directly against your back panel, centered vertically between your shoulders and hips. This isn’t intuitive because it feels counterintuitive to compress your torso with weight. But the mechanics are ruthless: a ten-pound water bottle two inches from your spine creates less rotational stress than a five-pound sleeping bag four inches out. Position matters more than total weight. The backpack ride quality collapses the moment you let gear migrate outward.
Front Load Heavy, Top Load Light
The common advice says pack heavy items low for stability. That’s backwards for hiking. Load your heaviest gear in the compartment closest to your back first, then stack progressively lighter items forward and outward from the spine. This creates a dense core. Medium weight goes in the main body compartment behind the load lifters. Lighter gear fills the lid, side pockets, and external attachment points.
- Water and food: Rest directly on the pack’s back panel, centered at mid-torso height for balanced force distribution across your entire posterior chain.
- Sleep system: Compressed against the back panel above water, forming a cushioned barrier between your spine and the pack frame itself.
- Layering insulation: Mid-body compartment, middle density, creating a thermal mass that stays warm and reduces load swing during movement.
- Electronics and first aid: Upper main compartment, accessible but not creating leverage arms that fatigue your shoulders.
- Tent poles and stakes: Lash externally only after internal space is optimized; external weight multiplies strain with every step.
The pack should feel like an extension of your body, not a separate object your muscles are fighting. Tighten all compression straps after loading. A loose pack shifts. A shifting pack forces constant micro-adjustments. That constant adjustment is what destroys your hips and knees over distance, not the weight itself.
Hiking Gear: The “Minimalist Maxims” For Every Trip
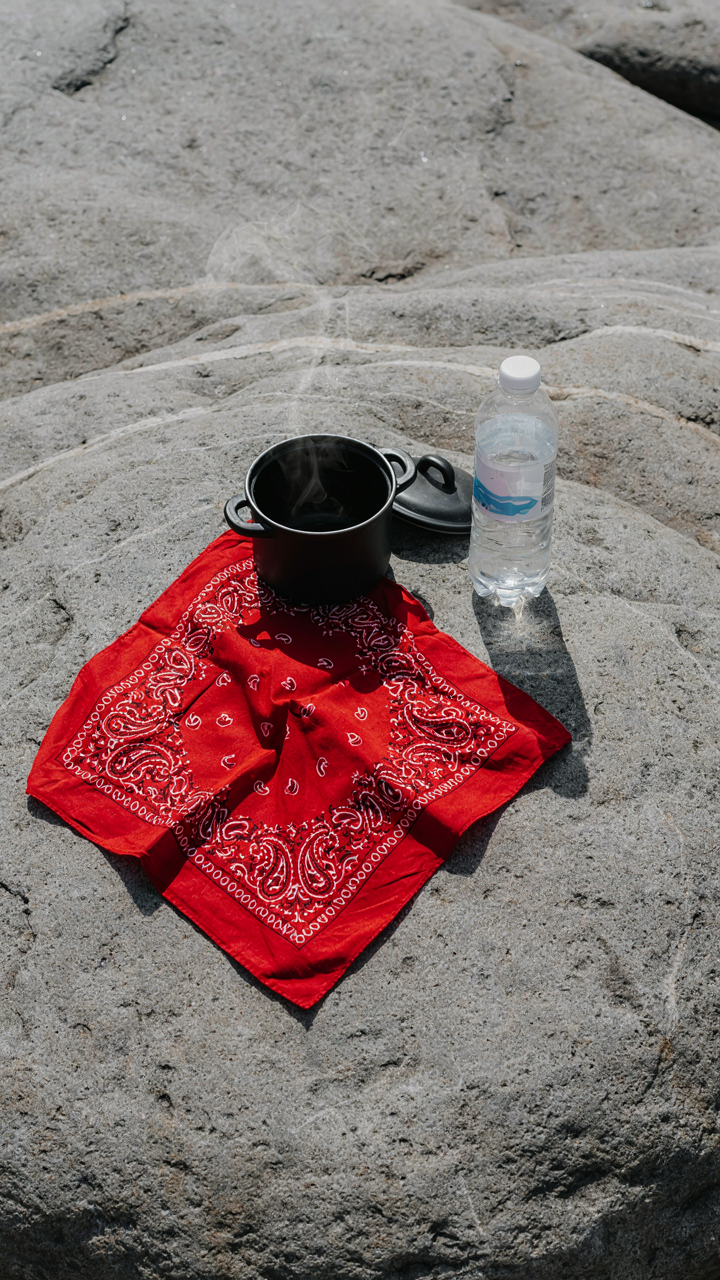
One Item Does Multiple Jobs
You want to feel like you’ve thought this through. Truth is, most hikers pack redundancy because choosing one tool over another feels risky. That’s denial dressed as preparedness. The mechanism is simple: every ounce carried costs energy on the trail. Multifunction gear exploits this directly. A lightweight tarp works as rain protection, ground cover, and emergency shelter. A carabiner secures a water bottle, hangs a headlamp, and clips a wet towel outside the pack. One item replacing three isn’t clever packing. It’s basic physics applied to load management.
The friction point most hikers miss is they treat “multifunction” as a nice bonus instead of a requirement. Stop looking for a knife that also opens cans. Look for the one tool that solves your actual problem in the field, then verify it handles secondary uses without compromise. A bandana becomes a dust mask, pot holder, or head wrap. A length of paracord manages gear compression and becomes a clothesline. Before adding a seventh item, ask whether something already in your pack already does eighty percent of that job.
What You Actually Need Versus What Sounds Necessary
The common advice is to make a list and cut it in half. That’s incomplete. You need to separate fear-driven items from function-driven items. A headlamp is function. Bringing two headlamps in case one fails is fear, not redundancy. The difference matters because fear packing creates dead weight that compounds over miles. Real assessment means naming the specific risk you’re protecting against, then asking how often that risk materializes on your typical hike.
Most hikers pack a repair kit they never use, extra socks beyond what prevents blisters, and backup batteries they don’t need. This happens because packing feels like control. The actual protocol: hike the same route twice before changing your gear load. Your first trip reveals what you actually grabbed versus what stayed in the pack. Your second trip confirms the pattern. After two identical hikes, you have data. Cut everything that didn’t move. That’s when your pack starts performing instead of just sitting on your back.
The Adaptability Advantage: Redefining Preparedness
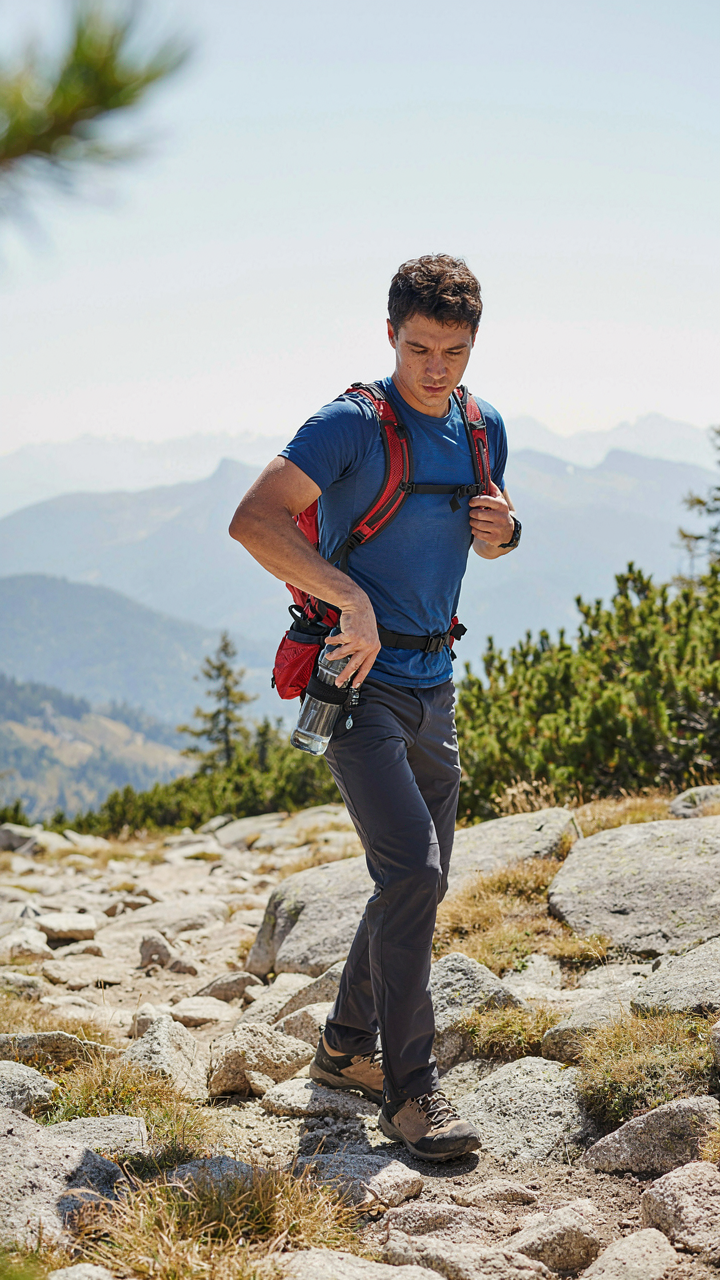
Organize For Quick Reconfiguration
You want to believe a perfect packing system exists so you don’t have to think on the trail. It doesn’t. The real skill is building a backpack structure that tolerates change without collapsing. Think of your pack like a military supply chain: the goal isn’t rigid efficiency, it’s resilience under disruption. Compartmentalization achieves this. Use your pack’s existing architecture—main compartment, side pockets, hip belt pockets, front panel—as zones, not destinations. Each zone holds categories that can shift without breaking function.
Reconfiguration speed depends on how you anchor items. Lash points, elastic loops, and carabiner attachment sites on the pack shell let you move weight around without unpacking everything. A sleeping bag that clips to the bottom creates flexibility when you need to access lower sections. Compression straps serve double duty: they secure loads and create new anchor points as conditions change. The mechanism is simple: external attachment beats burial. If you bury critical items, you’ve committed to a single configuration. If you attach them externally, you’ve built in adaptation.
Embrace Dynamic Packing, Not Static Lists
Most hikers treat their packing list like scripture. It isn’t. A static list assumes conditions stay constant, which they never do. Weather shifts. Routes change. Energy levels vary. Your pack organization should reflect this reality, not fight it. The difference between dynamic packing and static packing is the difference between a system and a checklist. A system responds. A checklist just repeats.
Dynamic packing means your pack layout changes based on immediate need, not tradition. If temperatures drop, your insulation moves from the bottom to the middle for faster access. If you hit a section requiring both hands, your water bottle position shifts to your hip belt instead of a side pocket. If a thunderstorm breaks, your rain gear can’t be buried under five other items. The protocol: before each segment of your hike, audit what you’ll actually use in the next two to four hours, and position those items in your top third. Everything else gets compressed and moved lower. This single habit eliminates the fumbling that kills momentum on the trail.
Your Biggest Obstacle Isn’t The Trail, It’s Your Mind Cluttered With Generic Advice
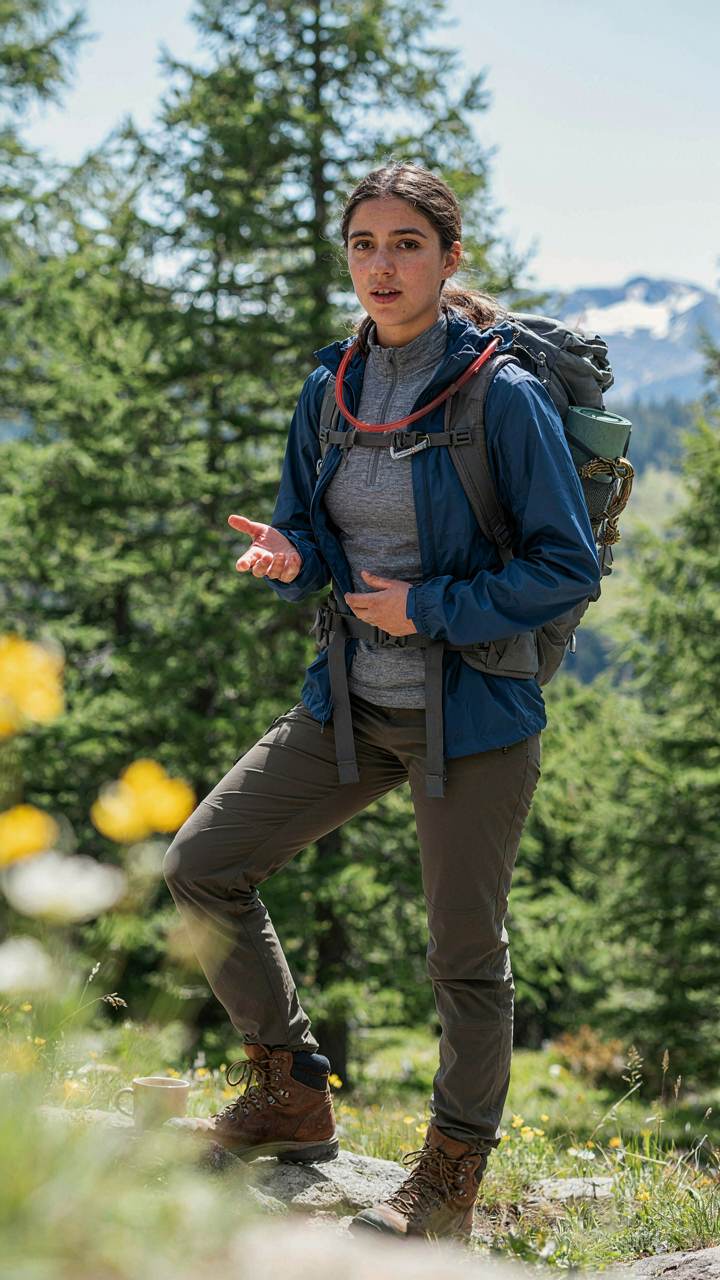
Most hikers sabotage themselves with organization systems they hate. Stop collecting tips. Pick one packing method that matches how your brain actually works, then obsess over it until it becomes automatic. Your backpack should feel like an extension of your body, not a puzzle you solve at dawn. Empty your pack tonight, reorganize it according to what you learned here, and hike this weekend. The system that works is the one you actually use.